August 17, 2026
The Official Guide to Creative Memories Die-Cutting & Embossing
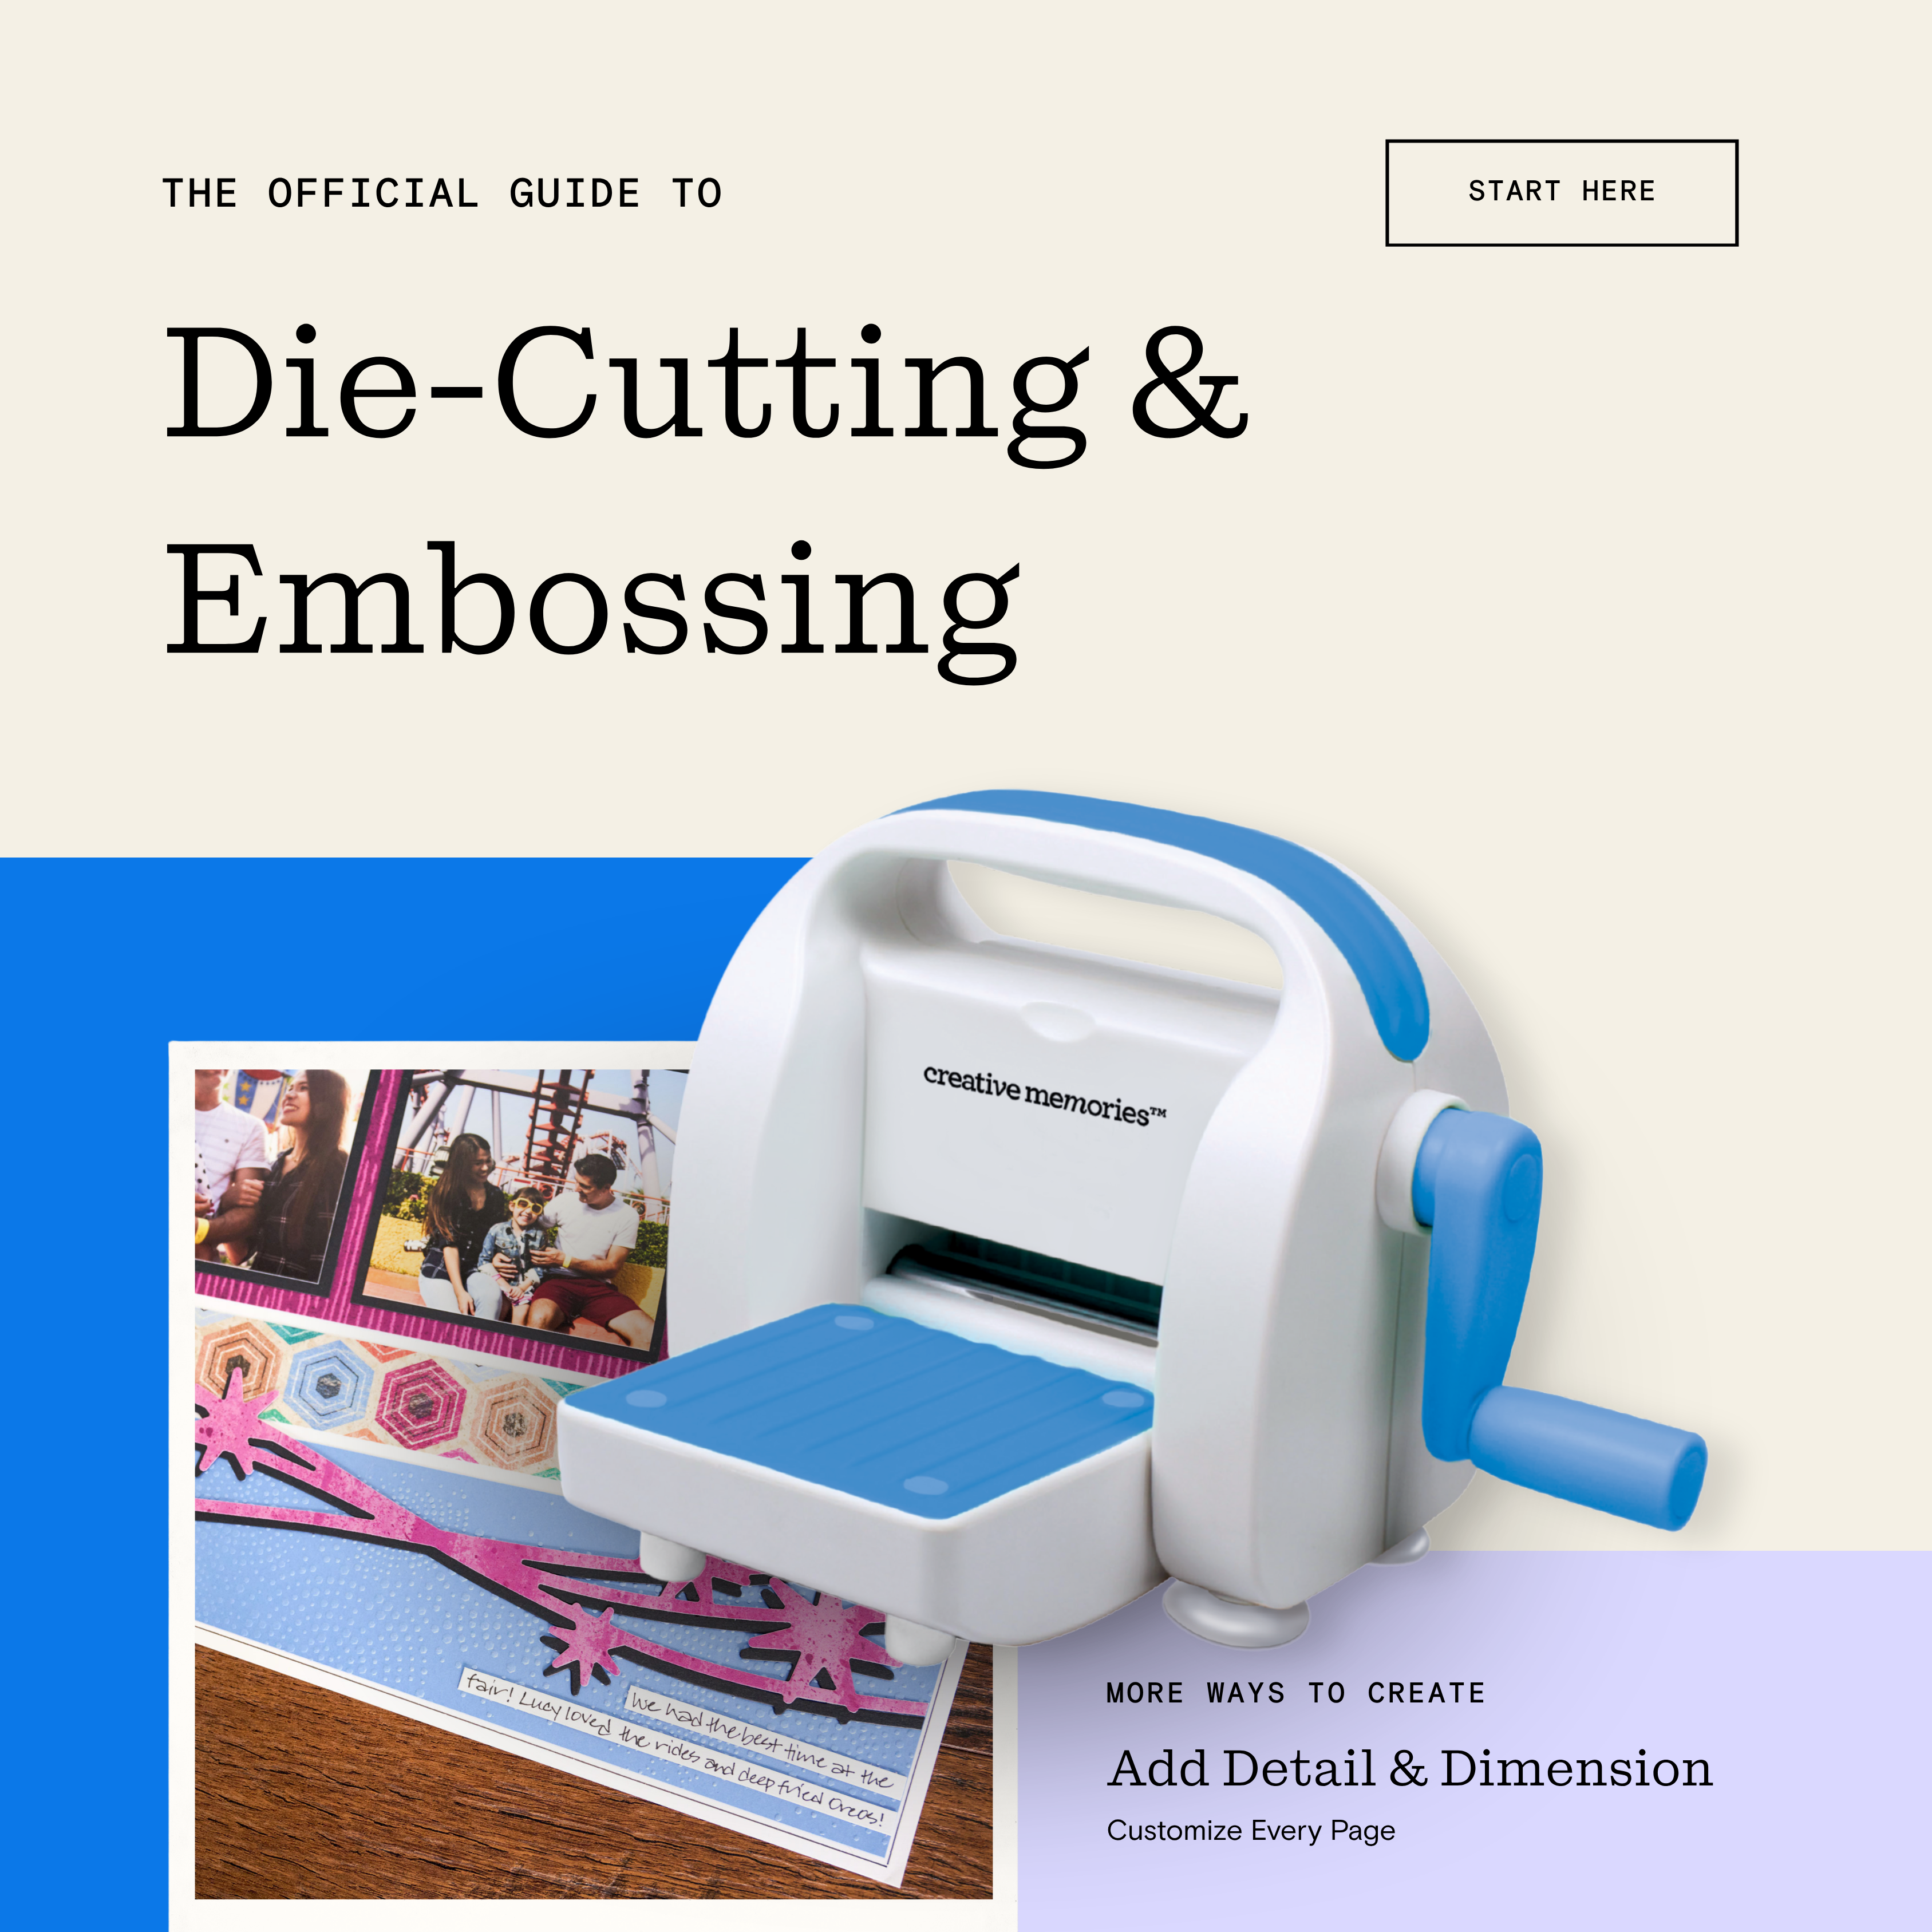
The Die-Cutting & Embossing System makes it easier to add detailed designs, custom shapes and dimensional texture to your memory keeping projects. Whether you’re creating a title, adding a border or giving a piece of paper a little more dimension, the Creative Memories Die-Cutting & Embossing Machine gives you more ways to make your projects your own.
In this guide, we’ll walk through the basics of die-cutting and embossing, introduce the parts and plates you’ll use, explain how the different “sandwiches” work and take you through creating your first die cut and embossed design.
What Is Die-Cutting & Embossing?
What Is Die-Cutting?
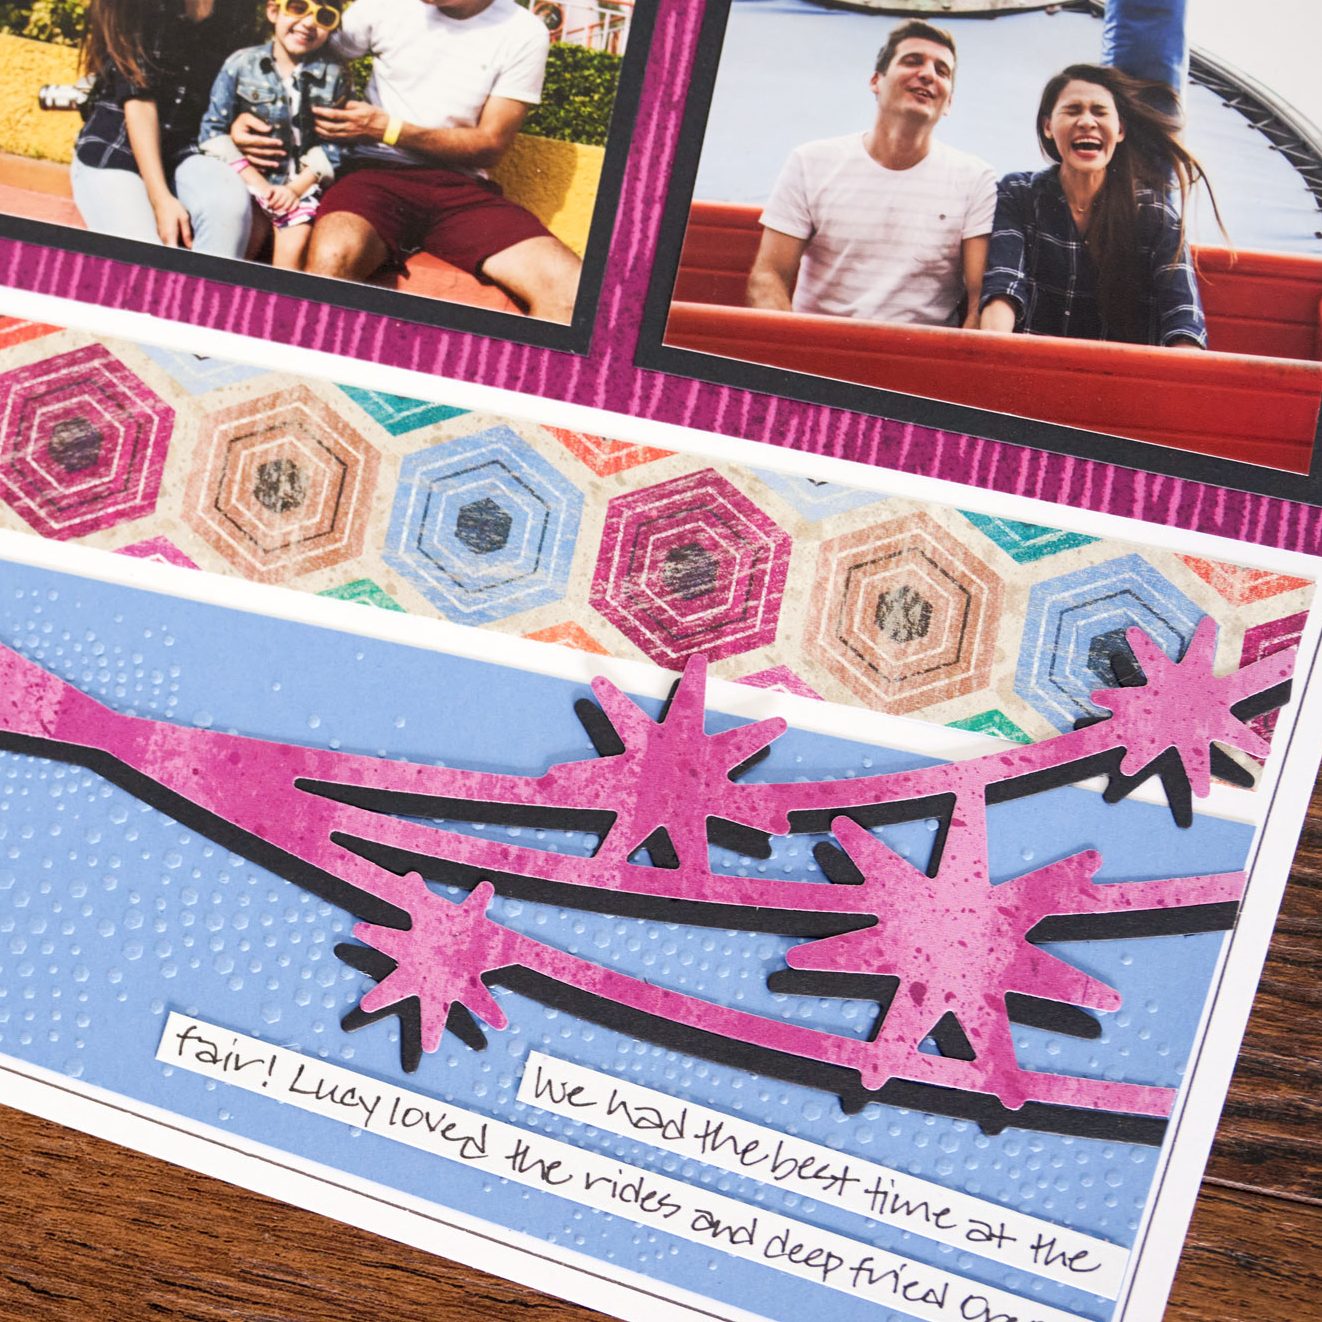
Die-cutting is a quick, precise way to cut shapes, icons, titles, borders and other designs from paper.
A die-cutting machine uses pressure and a thin metal die to create clean, detailed and repeatable cuts without having to cut the design by hand.
What Is Embossing?
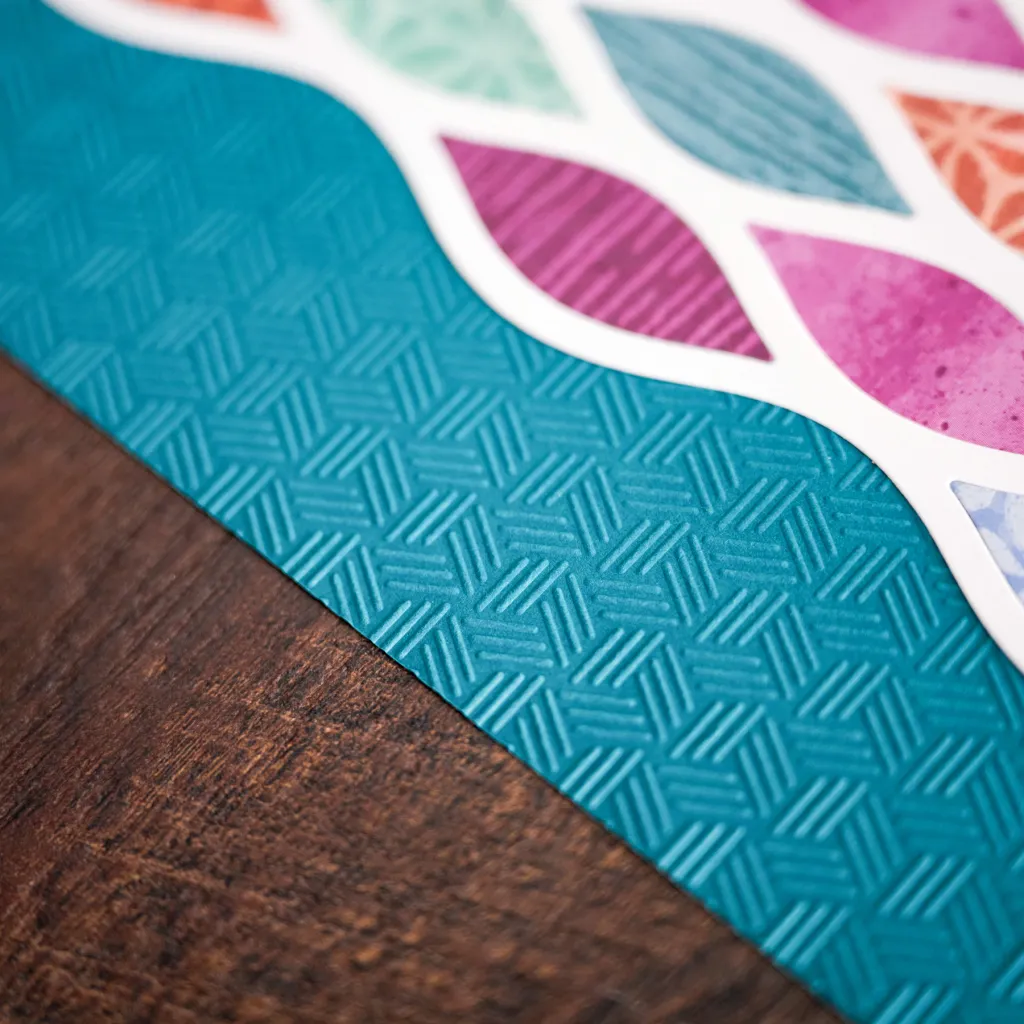
Embossing adds texture, patterns and dimension to paper.
An Embossing Folder uses pressure to press a design into the paper, creating a three-dimensional effect you can see and feel.
How Does the Machine Work?
The Die-Cutting & Embossing Machine uses even pressure to create clean, detailed cuts or textured embossed designs. For die-cutting, the machine presses a thin metal die into the paper to cut the desired shape or design. For embossing, the machine presses paper inside an Embossing Folder to add texture and dimension to the paper.
To get started, simply layer the correct plates, paper and metal die or embossing folder in the recommended “sandwich” configuration, then roll it through the machine.
Watch: How to Use a Die-Cutting & Embossing System | Beginner Guide
Meet Your Machine
The machine itself is just one part of the system. Once you understand what each component does, building the right sandwich becomes much easier.
Plates:
Plates create the correct amount of pressure needed to cut or emboss. Different plates are used depending on what you’re creating.
- Universal Top Plate (T): Available in 6.5″ and 12.5″ sizes, the Universal Top Plate is used as the top layer of both die-cutting and embossing sandwiches.
- Cutting Base Plate (C): Available in 6.5″ and 12.5″ sizes, the Cutting Base Plate is used for die-cutting.
- Embossing Base Plate (E): Available in 6.5″ and 12.5″ sizes, the Embossing Base Plate is used for embossing.
Dies: Thin metal tools with raised edges that cut shapes and designs from paper.
Creative Memories dies include:
- 12″ Borders
- Titles & Icons
- Alphas, Numbers & Punctuation
Embossing Folders:
Embossing Folders are reusable plastic folders with a design molded inside. Instead of cutting the paper, the folder presses the design into it to create raised texture on one side and recessed texture on the reverse. Creative Memories Embossing Folders are available in a 12.5″ size.
Paper:
For the most consistent die-cutting results, smooth cardstock typically provides a clean, precise cut. Results may vary depending on the paper’s thickness, texture and finish. The machine can be used with a variety of Creative Memories papers, including:
- Cardstock
- Designer Paper
- Vellum
- Shimmer Paper
For best results: While some metal dies may work with our Die-Cutting & Embossing System, for best results and longevity of the products, we recommend only using with Creative Memories Die-Cutting & Embossing products
Understanding Plates + Sandwiches
One of the most important things to understand when using your machine is the sandwich. A “sandwich” is simply the order in which you stack your plates, paper and metal die or Embossing Folder before rolling them through the machine. Using the correct sandwich helps ensure the right amount of pressure for clean results while protecting your machine and materials.
A Few Things to Remember:
- Build your sandwich from the bottom up.
- Use the correct plates and stacking order for what you’re creating.
- Some resistance and popping sounds while rolling your sandwich through the machine can be normal.
- Never force the sandwich through the machine.
- If the sandwich feels unusually tight or difficult to roll, stop and double-check that you’re using the correct plates and stacking order.
Die-Cutting Sandwich:
Build your die-cutting sandwich from the bottom up:

Embossing Sandwich:
Build your embossing sandwich from the bottom up:

Create Your First Die-Cut
Now that you know the parts and the sandwich, you’re ready to make your first die-cut.

Prepare the Machine
Fold out both machine platforms.

Add the Cutting Base Plate
Place the Cutting Base Plate (C) on a flat surface or table.

Add Your Paper
Place your paper on the Cutting Base Plate.

Position Your Metal Die
Place the metal die on top of the paper with the raised cutting edge facing down.

Add the Universal Top Plate
Place the Universal Top Plate (T) on top.

Roll the Sandwich Through
Roll the complete sandwich through the machine.

Remove Your Die-Cut
Separate the sandwich and remove your newly cut design.
Having Trouble Releasing Your Die-Cut?
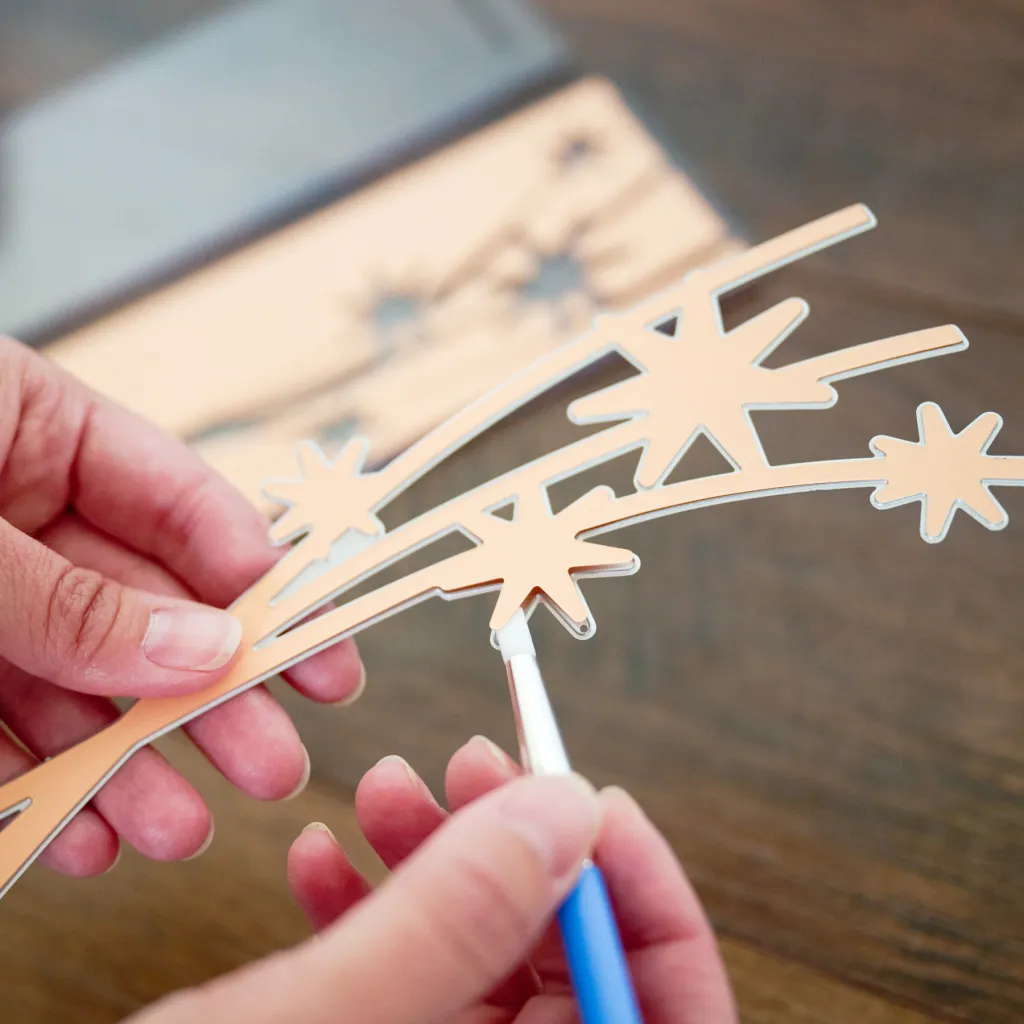
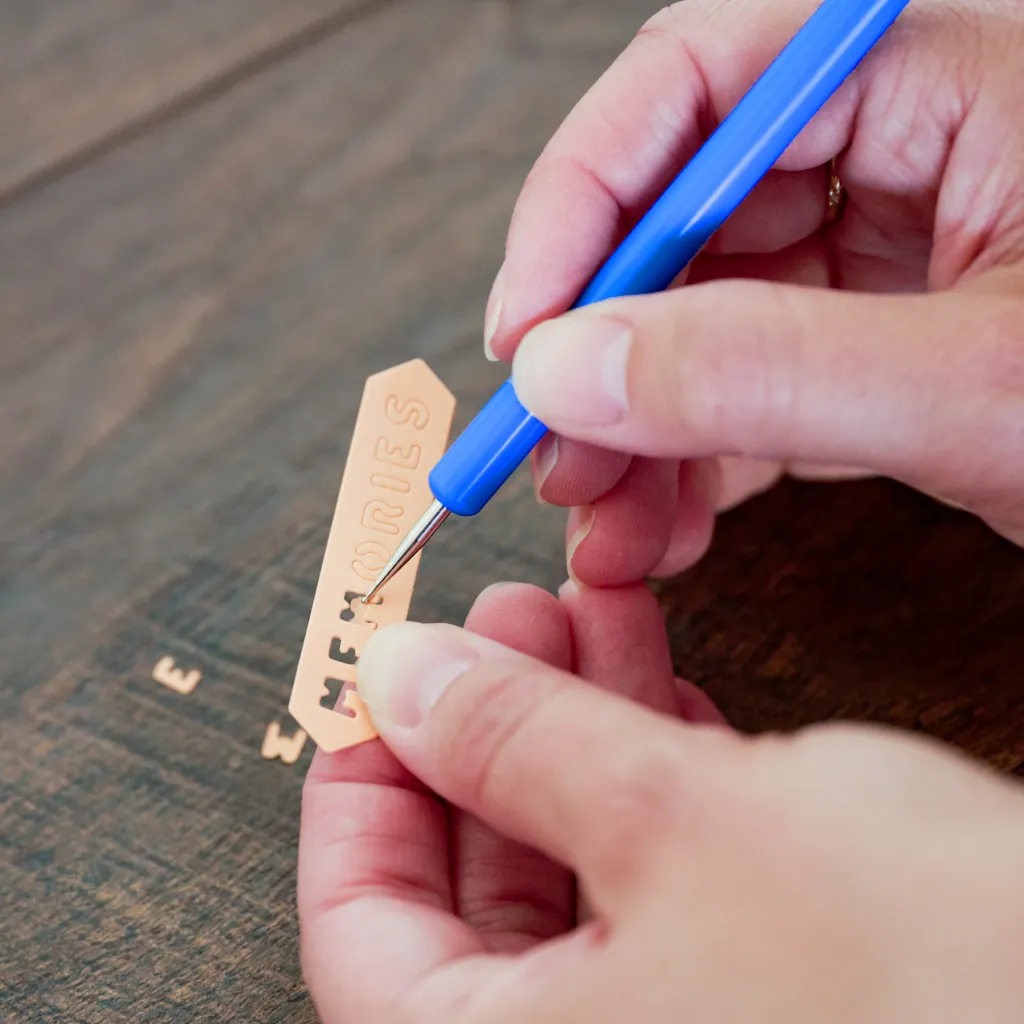
Some die-cuts may need a little help releasing from the metal die. Turn the metal die over and use the pointed end of the Dual-Tip Die-Cutting Tool in the small release holes to gently push the die-cut shape out. Use the tool to remove any small paper pieces that remain inside the metal die. Avoid pulling or forcing delicate die-cut pieces, which could cause them to tear.
Helpful Die-Cutting Tips:
- Keep Your Die in Place: Use Place & Peel Tape to temporarily secure your metal die and help prevent it from shifting as it rolls through the machine.
- Adhere Your Finished Die-Cuts: Use the Repositionable Tape Runner or Precision-Point Adhesive Pen to adhere finished die-cut designs to your project.
- For Intricate Designs: If an intricate die-cut doesn’t release easily, use the Dual-Tip Die-Cutting Tool to gently release the design and remove small pieces of paper from the metal die.
Create Your First Embossed Design
Embossing uses a similar process, but instead of cutting through the paper, the Embossing Folder presses a design into it.
Prepare the Machine
Fold out both machine platforms.
Prepare Your Embossing Folder
Place your paper inside the Embossing Folder.
Build the Sandwich
Base Layer: E — Embossing Base Plate
Layer 2: Embossing Folder — with paper placed inside
Layer 3: T — Universal Top Plate
Roll It Through
Roll the complete sandwich through the machine.
Reveal Your Design
Open the Embossing Folder and remove the paper to reveal your three-dimensional, textured design.
Helpful Embossing Tips:
- For Best Results: For the most visible embossed designs, Creative Memories recommends Cardstock and Shimmer Paper. Results can vary depending on the paper’s thickness, texture and finish.
- Using Designer Paper: Some designer papers may show the white core of the paper when embossed. Results can vary depending on the paper and embossed design.
- Adhere Embossed Paper: Use a Max-Strength Tape Runner to securely adhere embossed paper to your project.
Explore What’s Possible

Titles, Words & Icons
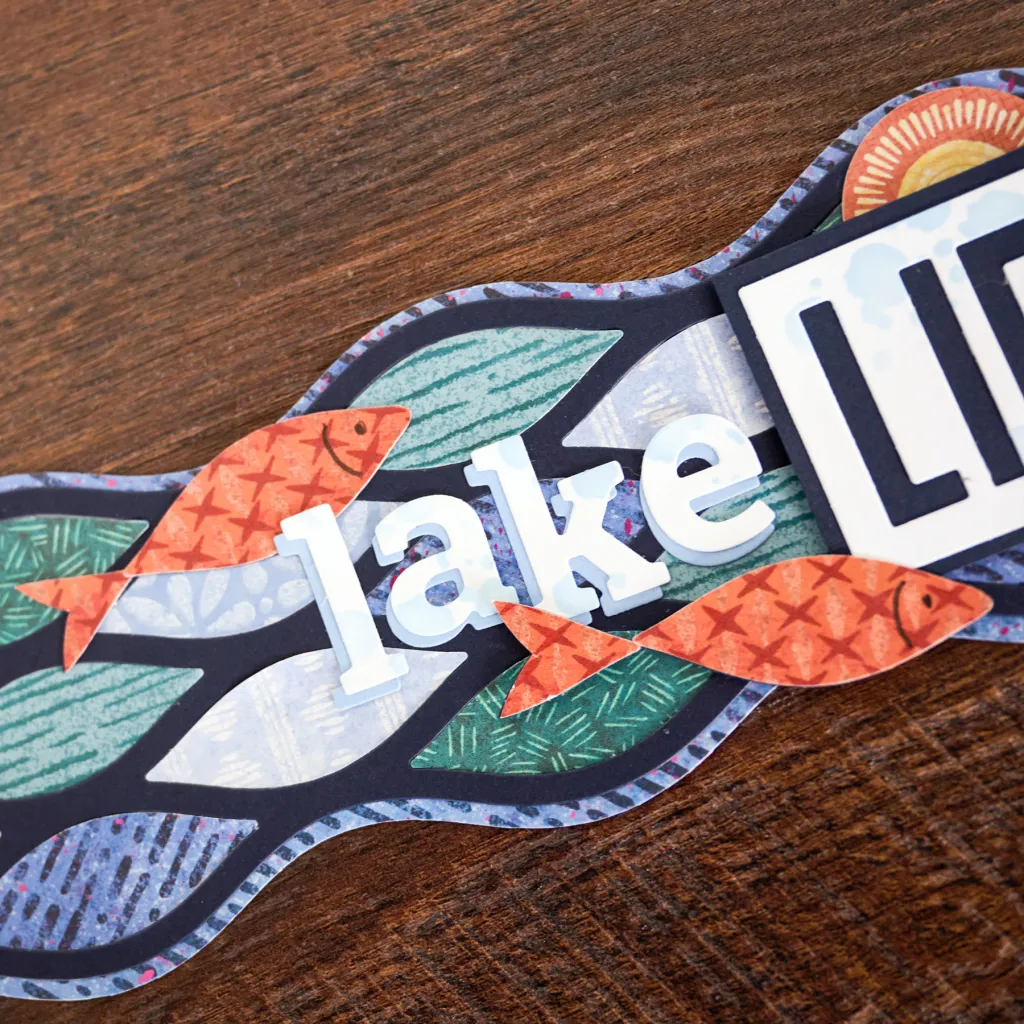
Create titles, names, dates and phrases with Alphas & Numbers or Titles & Icons.
Borders
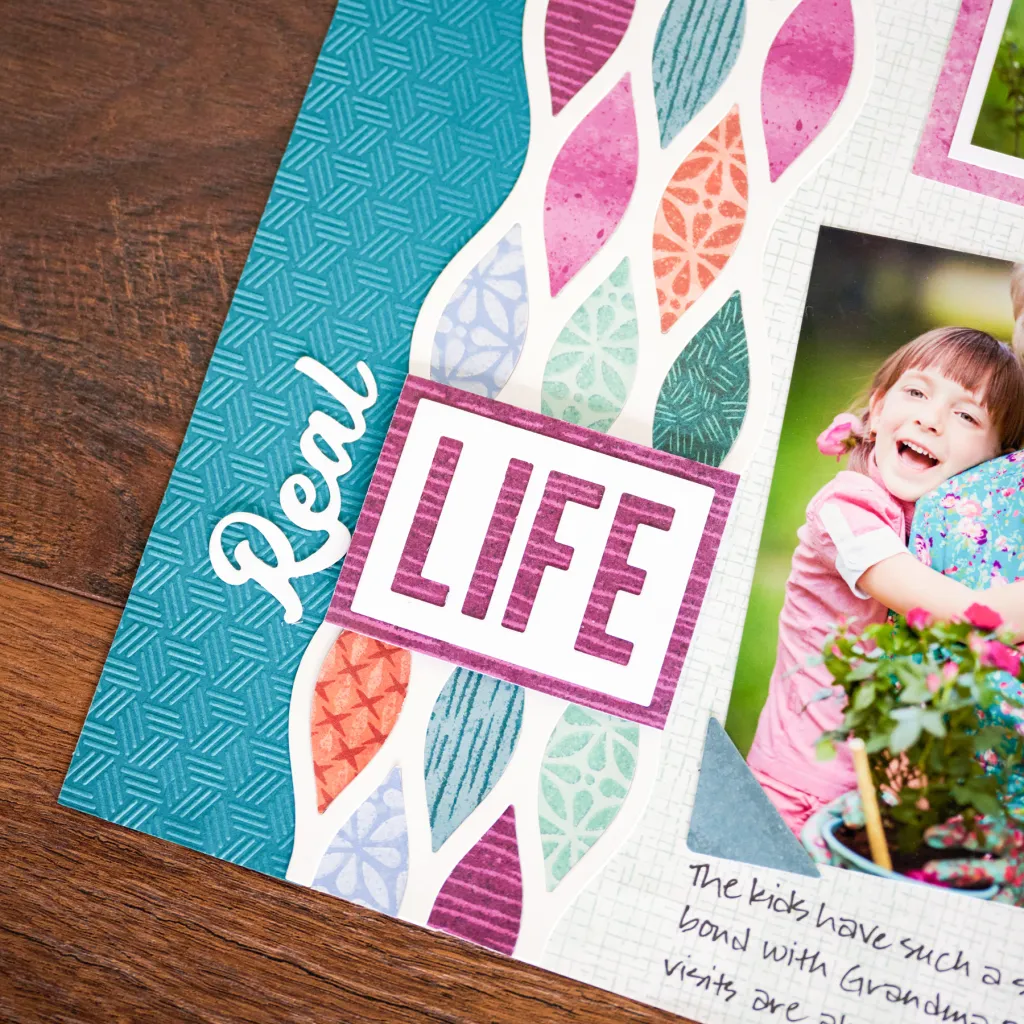
Create detailed 12″ borders that coordinate with your project.
Layered Embellishments
Cut the same design from different papers and layer the pieces for added dimension.
Texture
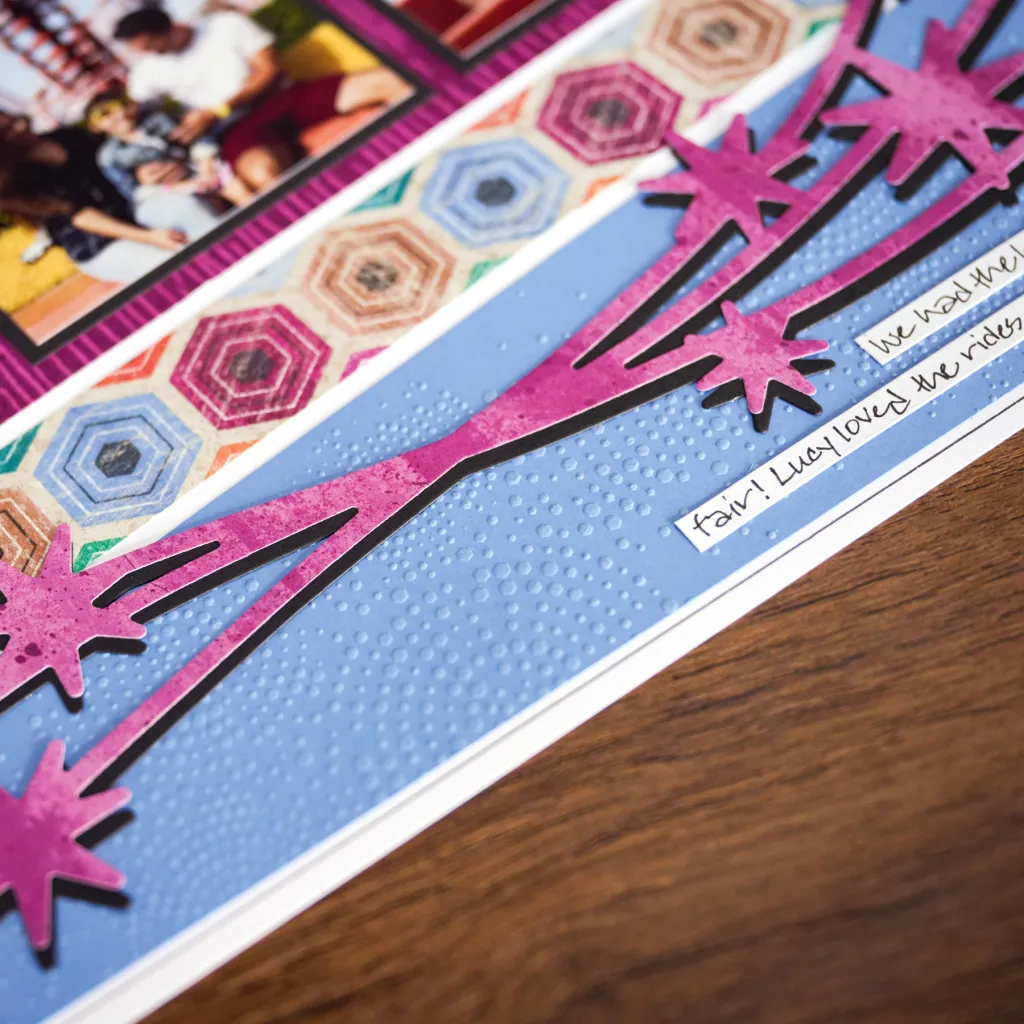
Combine die-cutting and embossing to add shape, texture and dimension.
Tools, Accessories & Storage
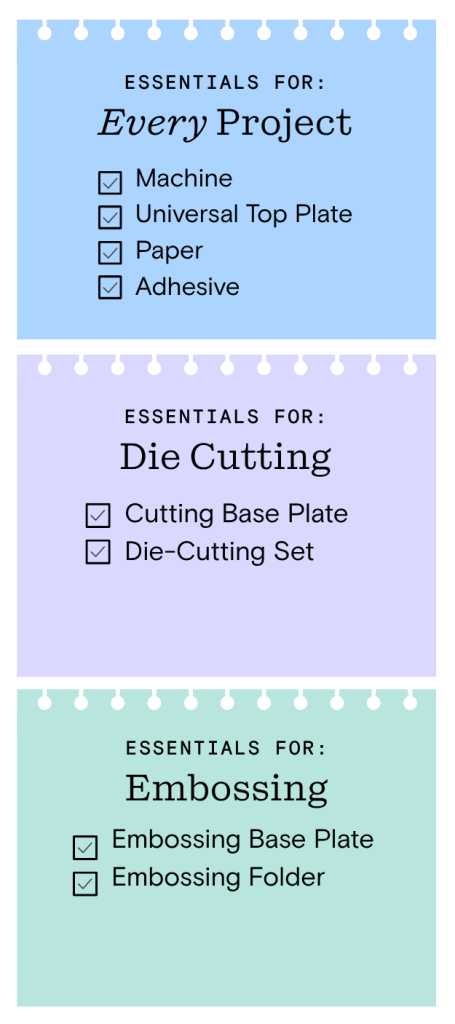
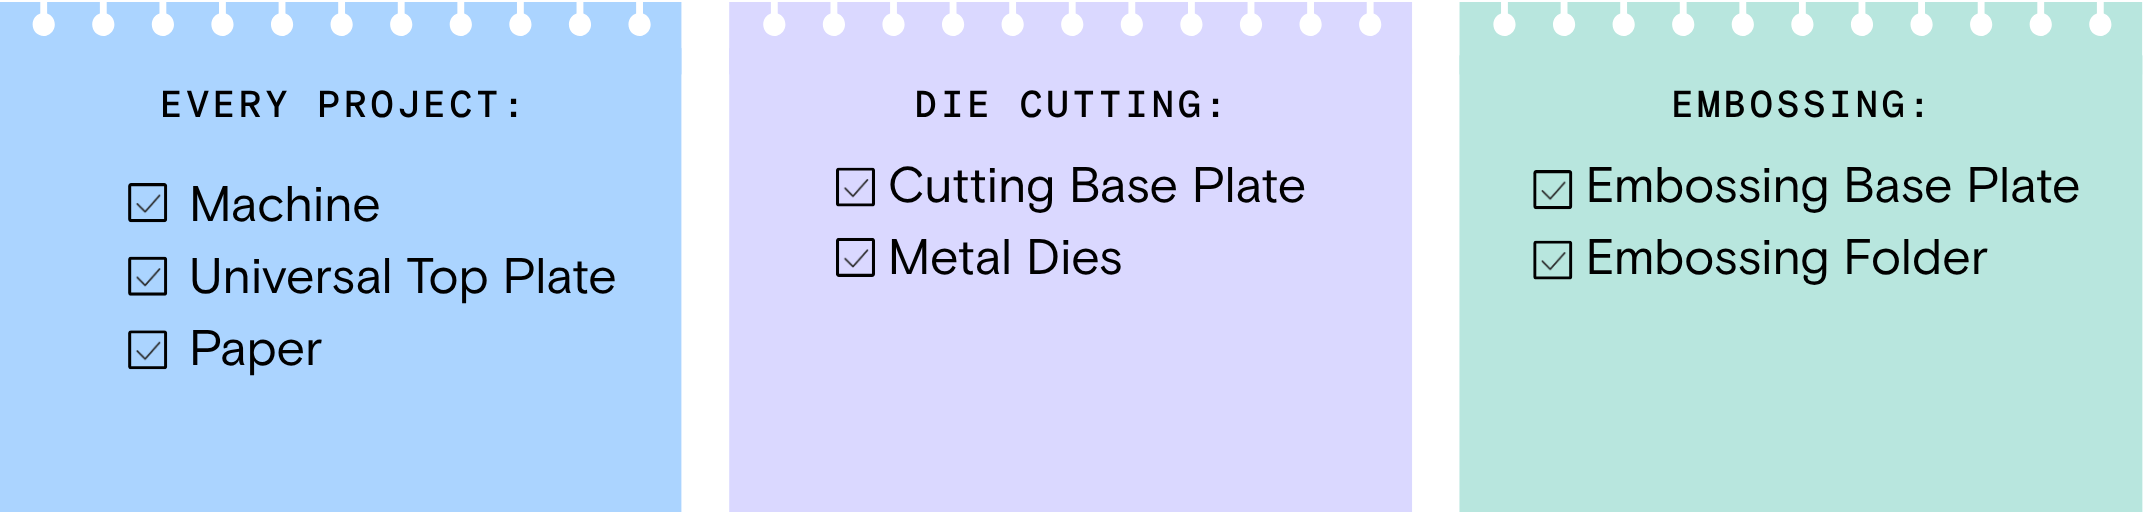
You only need a few essentials to start die-cutting and embossing. As you get more comfortable, a few additional tools can make the process easier, and the right storage can help keep your metal dies, folders and plates organized.
Start With the Essentials:
Helpful Tools:
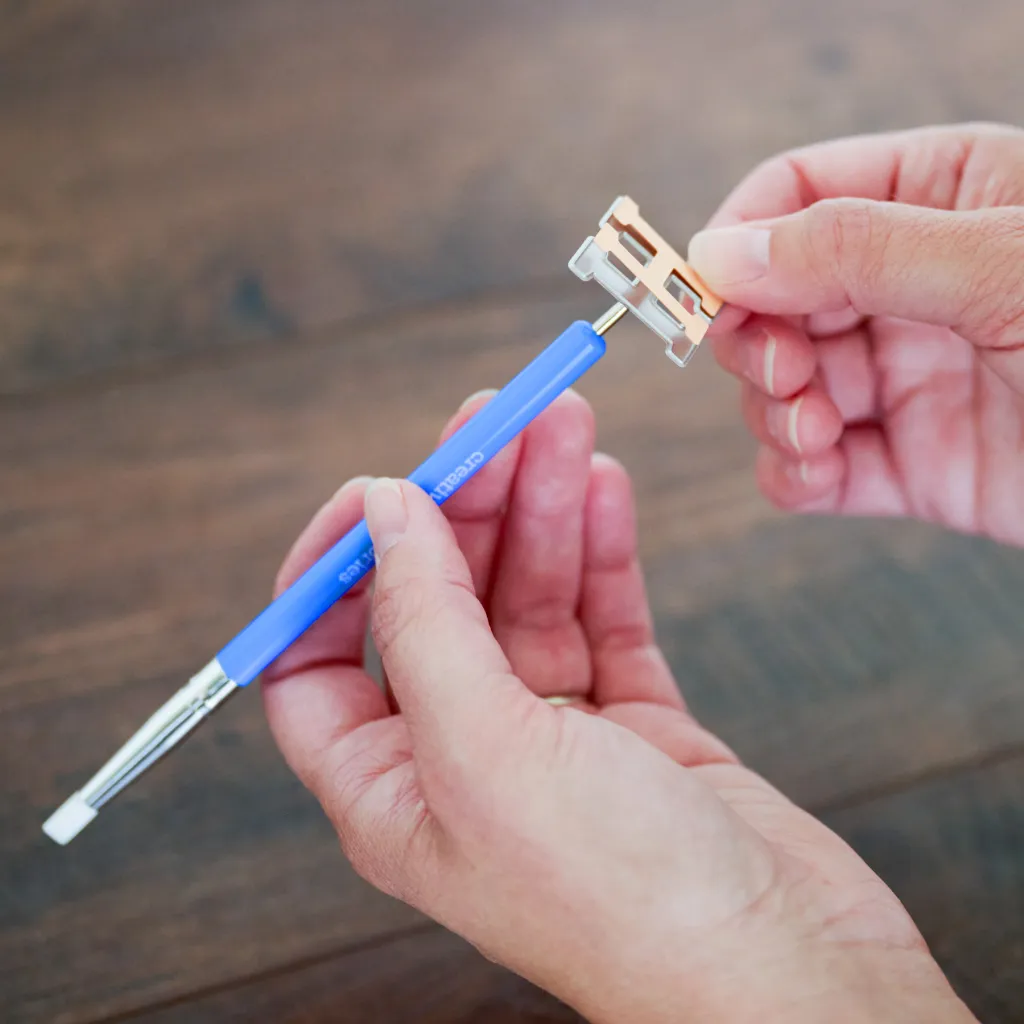
Dual-Tip Die-Cutting Tool
Helps release detailed die-cuts and remove small paper pieces.
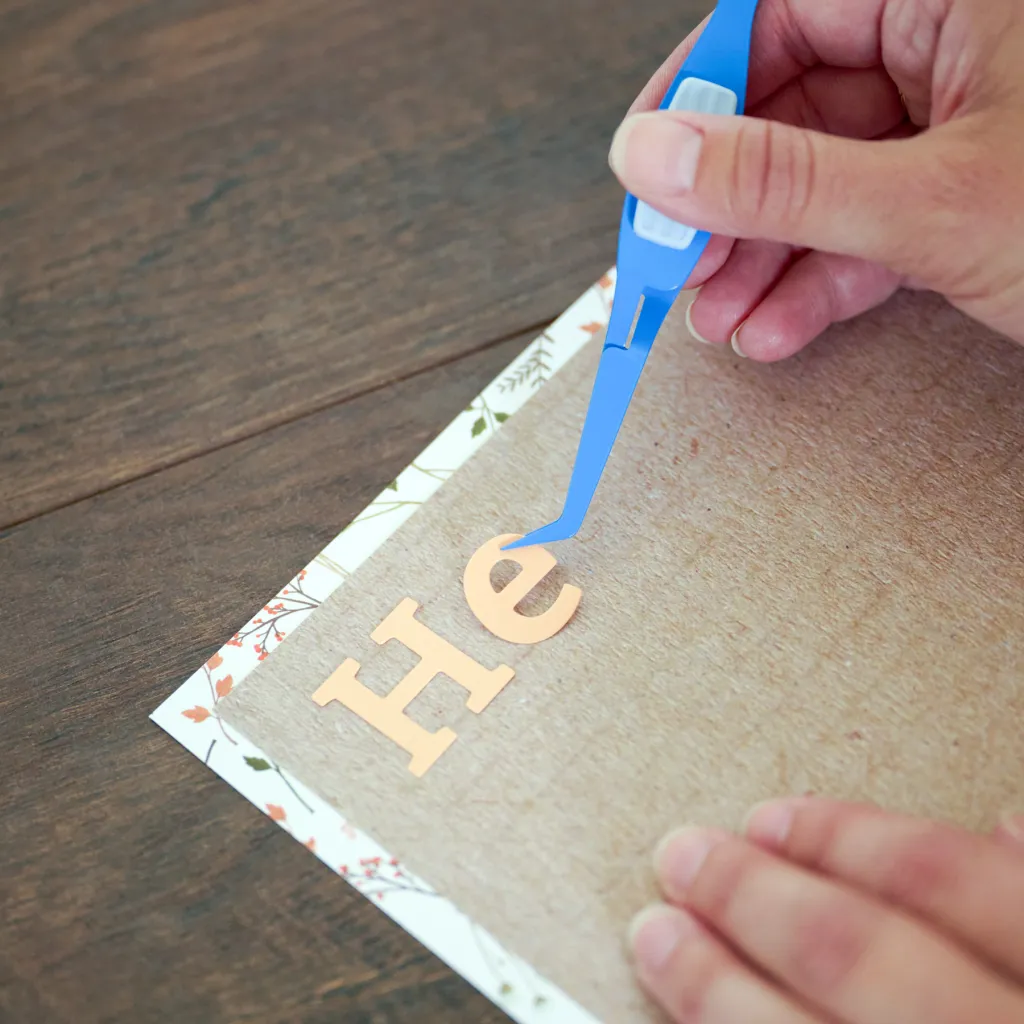
Reverse Grip Tweezers
Helps pick up and position small or detailed pieces.
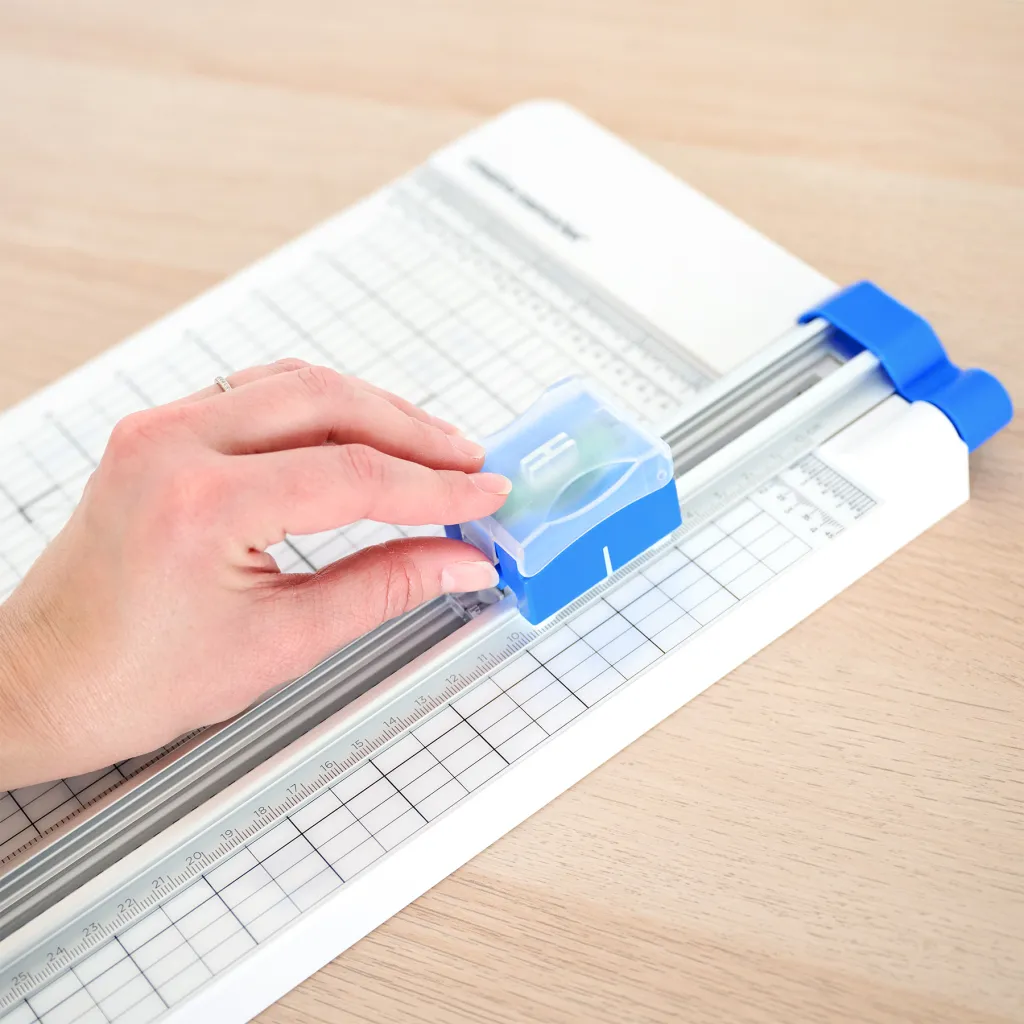
12-inch Trimmer
Makes it easy to cut paper to the size you need.
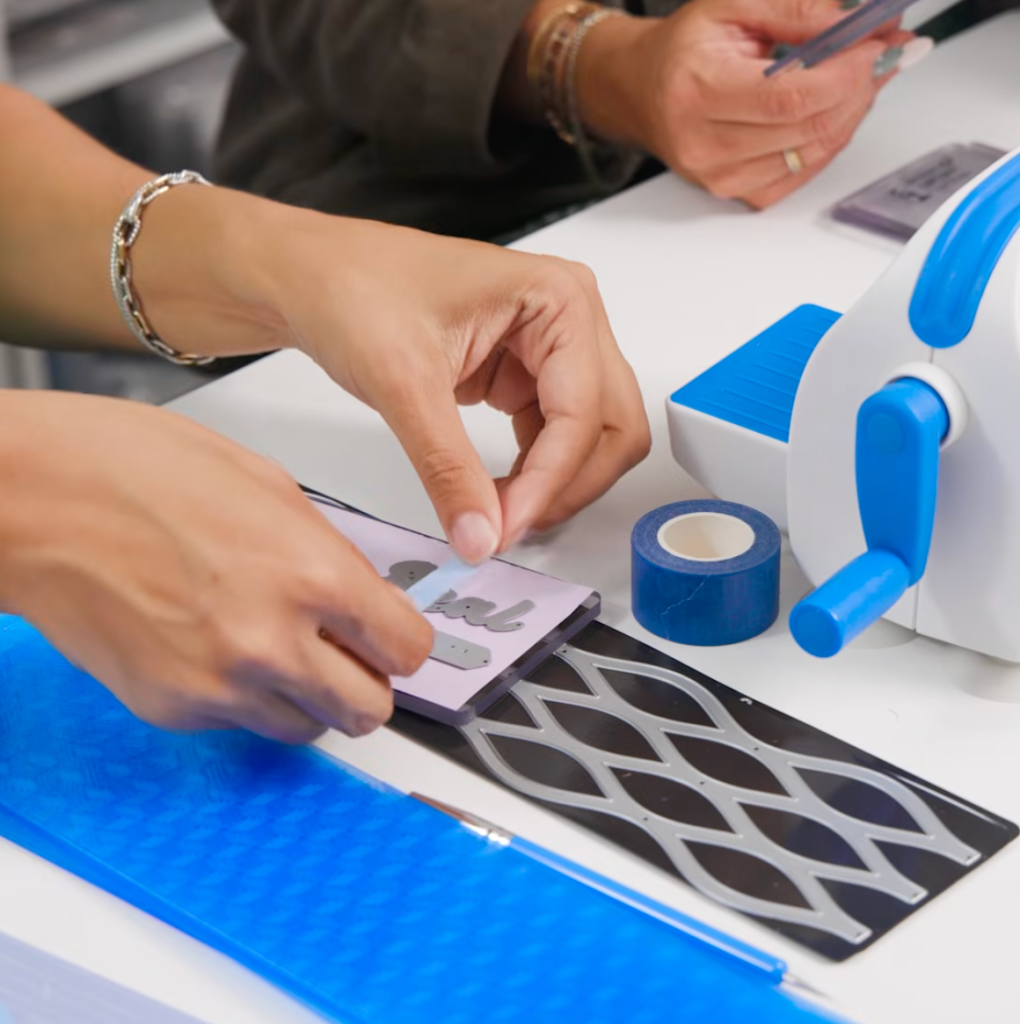
Place & Peel Tape
Helps keep metal dies in place while cutting.
Nice to Have: Extra Cutting Base Plates, Silicone Craft Mat, Precision-Point Adhesive Pen and Micro-Tip Scissors.
Keep Your Supplies Organized:
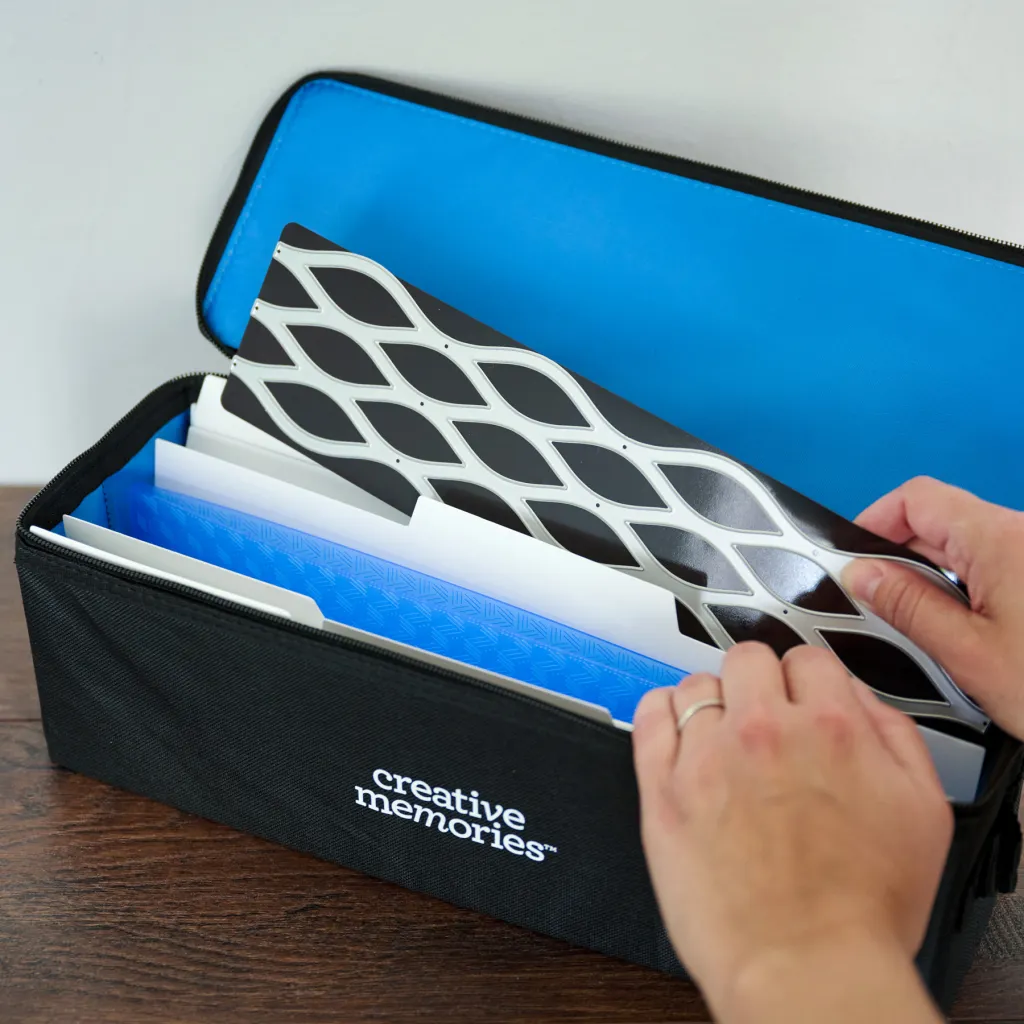
Organizer Case & Dividers
Use the Slim Organizer Case with Slim Case Dividers to keep Border Dies, Embossing Folders and Plates organized and easy to access.
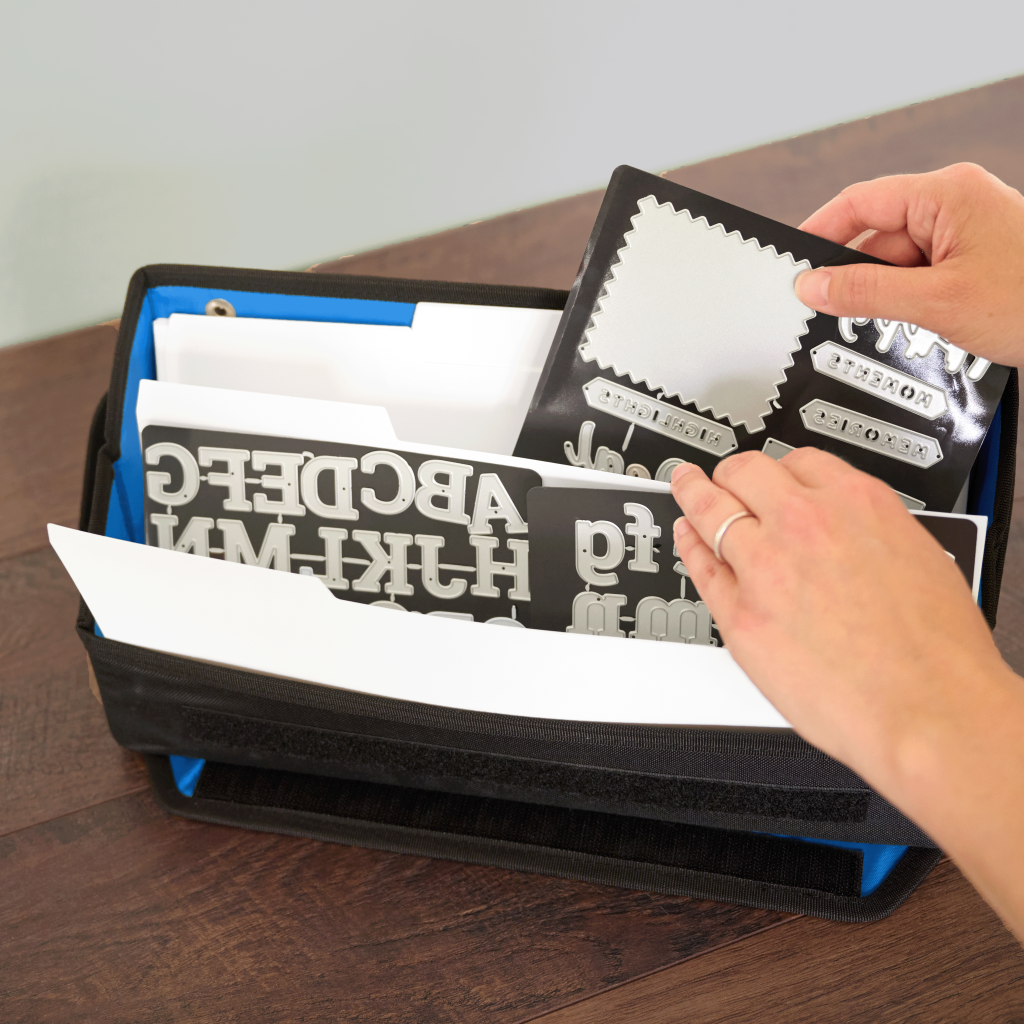
Large POD Case & Dividers
Store your smaller metal dies in one place and use the Large POD Case Dividers to keep different metal die collections organized and easy to find.
Storage Tip: Creative Memories metal dies come packaged with a magnetic backer. Keep the magnetic backer to help keep your metal dies organized, secure and easy to store.
Make It Your Own
From detailed titles and borders to embossed textures and layered embellishments, die-cutting and embossing give you even more ways to bring your ideas to the page.
Ready to Create?
You know the basics. Now it’s time to put them to work. Explore the Die-Cutting & Embossing Machine, metal dies, Embossing Folders and accessories and start adding new layers of detail and dimension to your projects.