August 12, 2026
One for the Books: A School Years Layout
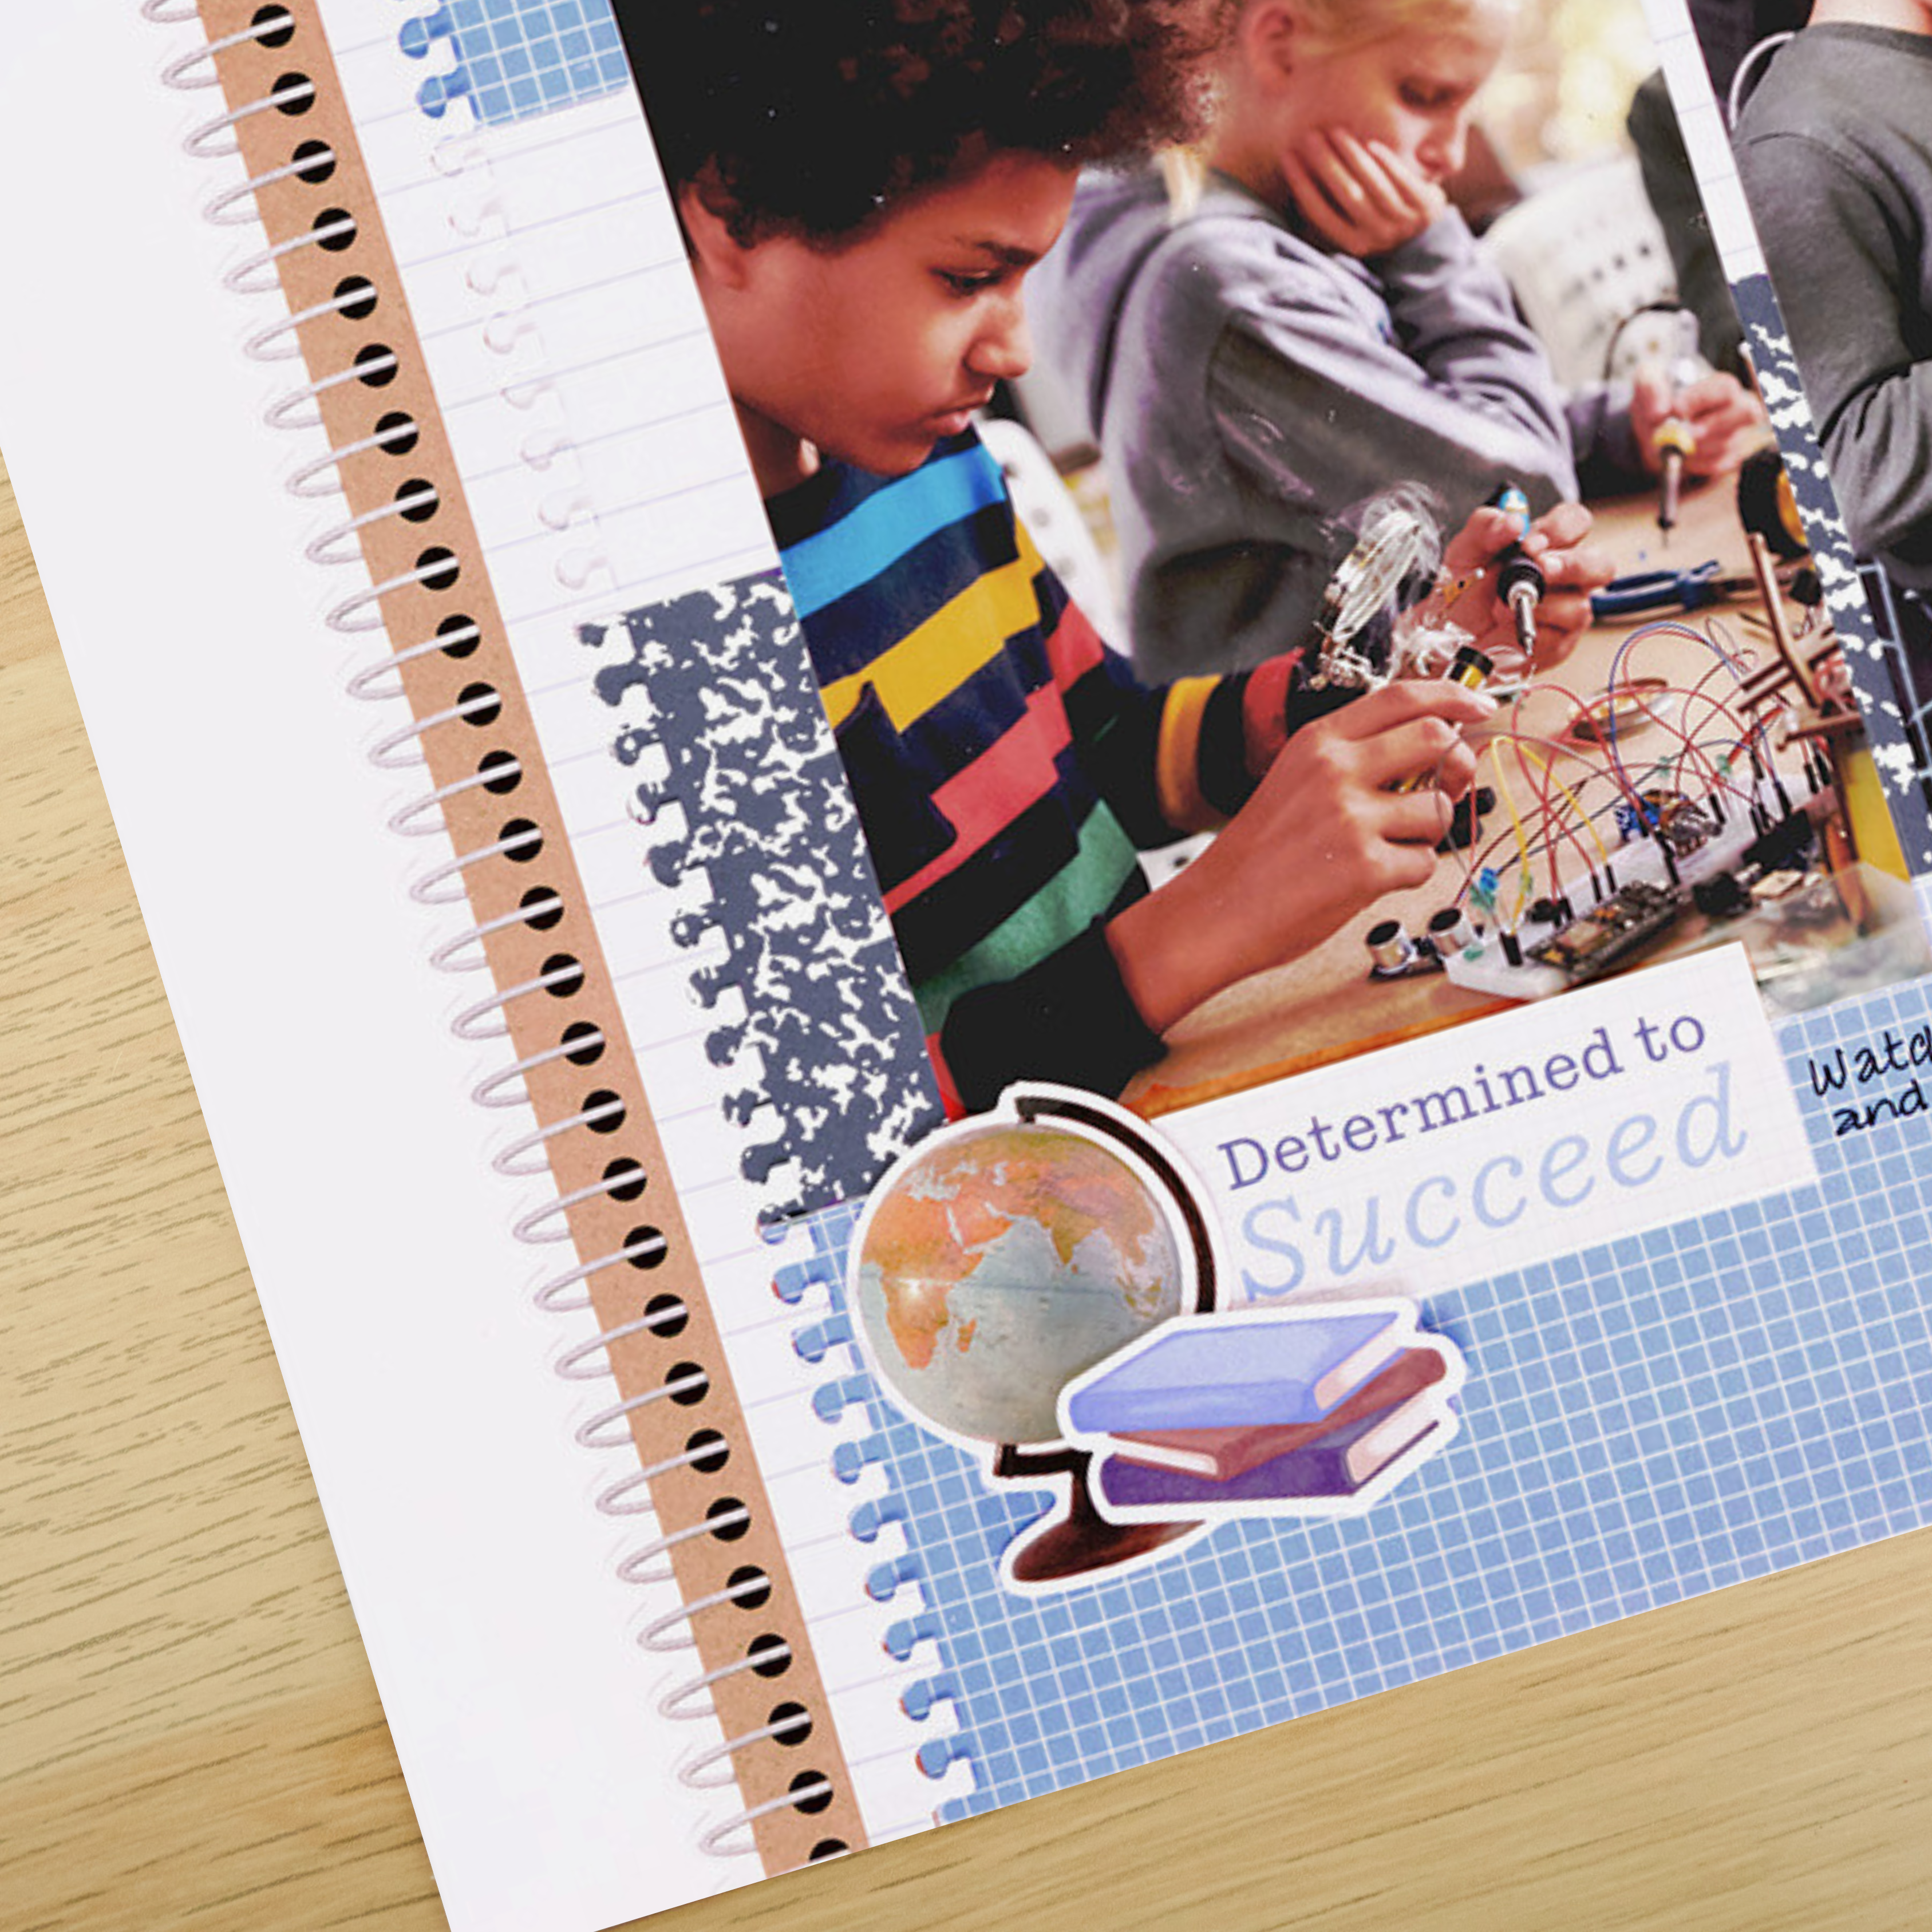
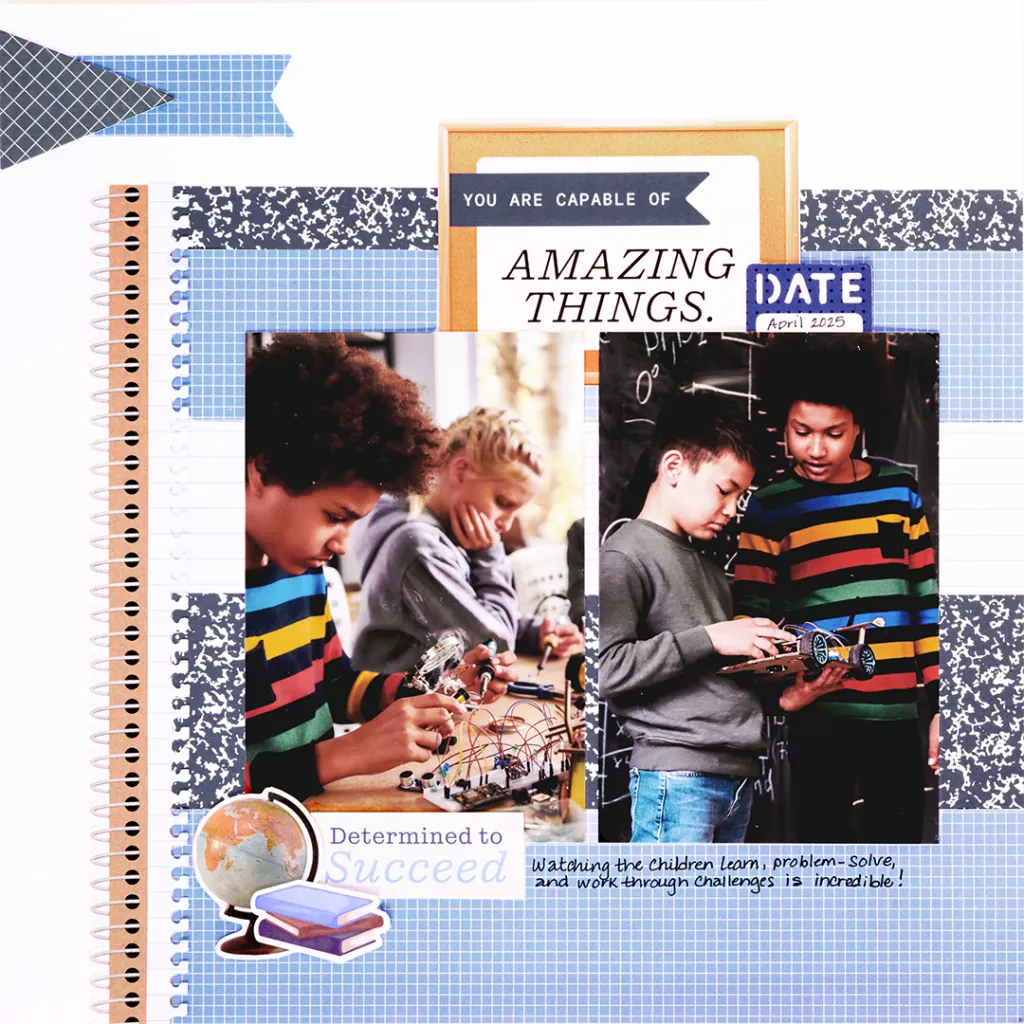
Some memories are worth writing down. This School Years layout brings the charm of a well-loved notebook to your favorite school photos, with lined paper, handwritten details and little spaces to capture the moments that might otherwise get forgotten. Whether you’re scrapping a brand-new school year or looking back at one already in the books, it’s a fun way to put those memories on the page.

Love this layout?

Love this layout?

Step 1: Use Bright White Solid Cardstock as the base for this layout.
Step 2: Cut a 10″ x 2-1/2″ piece and a 10″ x 2″ piece from the light blue grid tonal paper. Adhere the 2-1/2″ strip along the bottom edge and against the right edge. Set the other piece aside.
Step 3: Cut a 10″ x 2-1/2″ piece and a 10″ x 1″ piece from the blue composition tonal paper. Adhere the wider piece directly above the light blue grid piece. Set the 1″ piece aside. Next, cut a 10″ x 2″ piece from the notebook tonal paper and adhere it directly above the blue composition tonal paper. Then, adhere the light blue grid and blue composition pieces you set aside, as shown.
Step 4: Add two 4″ x 6″ photos as shown, positioning them 2″ from the bottom edge, with the right photo 1″ from the right edge and 1/8″ between the photos. The photos are not matted, but you can certainly add mats if desired.
Step 5: Cut the Amazing Things Mat Card, leaving the bulletin board edge intact. Adhere it above the photos. Using the Document the Date Punch, punch a shape from the blue designer paper. Back the punched piece with light blue handwriting tonal paper, then adhere it above the photos, leaving room to journal the date.
Step 6: For an additional detail, punch a notebook edge from the notebook tonal paper using the Notebook Edge BMC and adhere it over the binding as shown.
Step 7: Cut a 3-1/2″ x 1″ piece from the light blue grid tonal paper. Dovetail the right end. Adhere the piece 3/4″ from the top and against the left edge. Add a triangle sticker from the sticker sheet.
Tip: When creating a dovetail, use the tip of your Micro-Tip Scissors to cut about 1/4″ up the center of the strip. Then, cut from the left corner to the center, followed by the right corner to the center. This will create a perfect dovetail every time!
Step 8: Add journaling to the page. Finish by adhering stickers and embellishments, using Foam Squares as desired.
Want to recreate this layout?
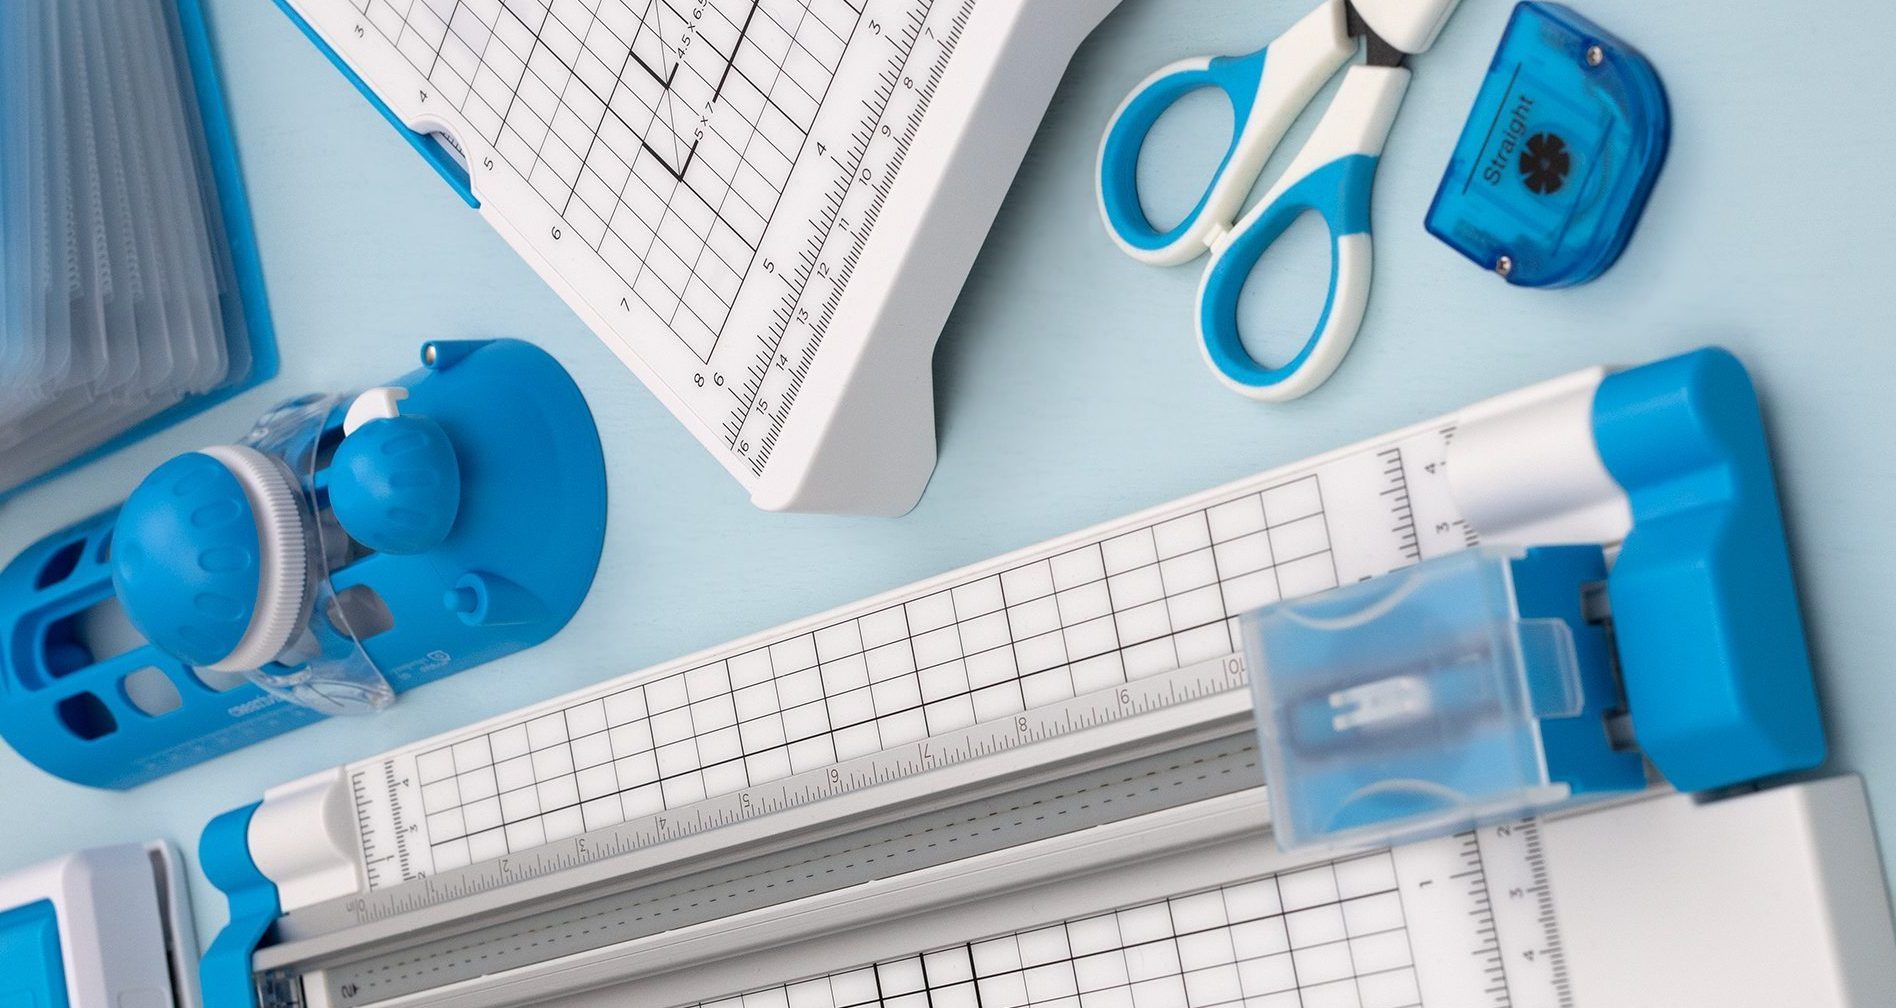
We’ve gathered all the products featured in this project in one place, making it easy to find the papers, embellishments, tools and more.
P.S. Are YOU a member of the Virtual Crop Group? It’s your go-to place for MONTHLY Virtual Crops, MONTHLY Completed Album Challenges, QUARTERLY Secret Box Openings with project tutorials and so much more! We hope you’ll join our community of more than 53,000 fellow memory-keeping enthusiasts — you’ll feel right at home!


In case you missed it: In Step 6, if you want your layout to look like the blog post image, you’ll need to first adhere ~9″ of the 12″ sticker (School Years Sticker Pack) that looks like a spiral binding with a tan paper edge vertically along the left edges of the stacked 10″ wide designer papers The stacked papers 2.5″ + 2.5″+2″+ 1″+ 1″ = 9″ high). Then “punch a notebook edge from the notebook tonal paper using the Notebook Edge BMC and adhere it over the binding as shown” Suggest trimming the Notebook Edge border piece to ~9″ prior to sticking down to layout. The Notebook Edge piece will cover the right edge of the sticker. (Hope I got this correct Brenda!)
I miss the blog post listing out not just the supplies but also any tools needed to recreate this layout. Great that added a ‘shop this look’ button! But since I already have most tools and a few of the School Years items, a list would still be helpful to know what I don’t have, what I need or improvise for, and to gather my tools from the places I keep them.
If you click on the ‘Shop The Look’ button or the ‘Shop Now’ button to recreate this A+ layout – these are the items in the shoppable list. I added a few extras that would coordinate with how Brenda Rose designed and created the layout. I bet she would get extra-credit by adding her talent with inking :)
Thanks for the sharing!
*Supplies needed:
Bright White Solid Cardstock – 2 pieces, 12×12
School Years Paper Pack
School Years Tone-on-Tone Paper Pack
(Optional Cardstock for matting photos: Dark Green, Blue, Caramel, Beige, Black)
School Years Mat Pack
School Years Sticker Pack
Optional: School Years Embellishment Pack
*Scrapbook Tools needed:
Tape Runner +/or Repositionable Tape Runner
Optional: Foam Squares
Original Border Maker System
Notebook Edge Border Maker Cartridge
12″ Trimmer
Photo Trimmer
Micro-Tip Scissors
Document the Date Punch
(Optional: Accent Arrow Punch)
Dual-Tip Journaling Pen in Black
(Optional: Navy Dual Tip Pen and/or Micro-Tip Pens in Black, Brown, Navy)
This layout could be adapted to a two-page layout as well as adding peekaboo pocket if had more photos of those projects the kids made.