August 6, 2026
The Perfect Pair: Ink Details & Perfect Match
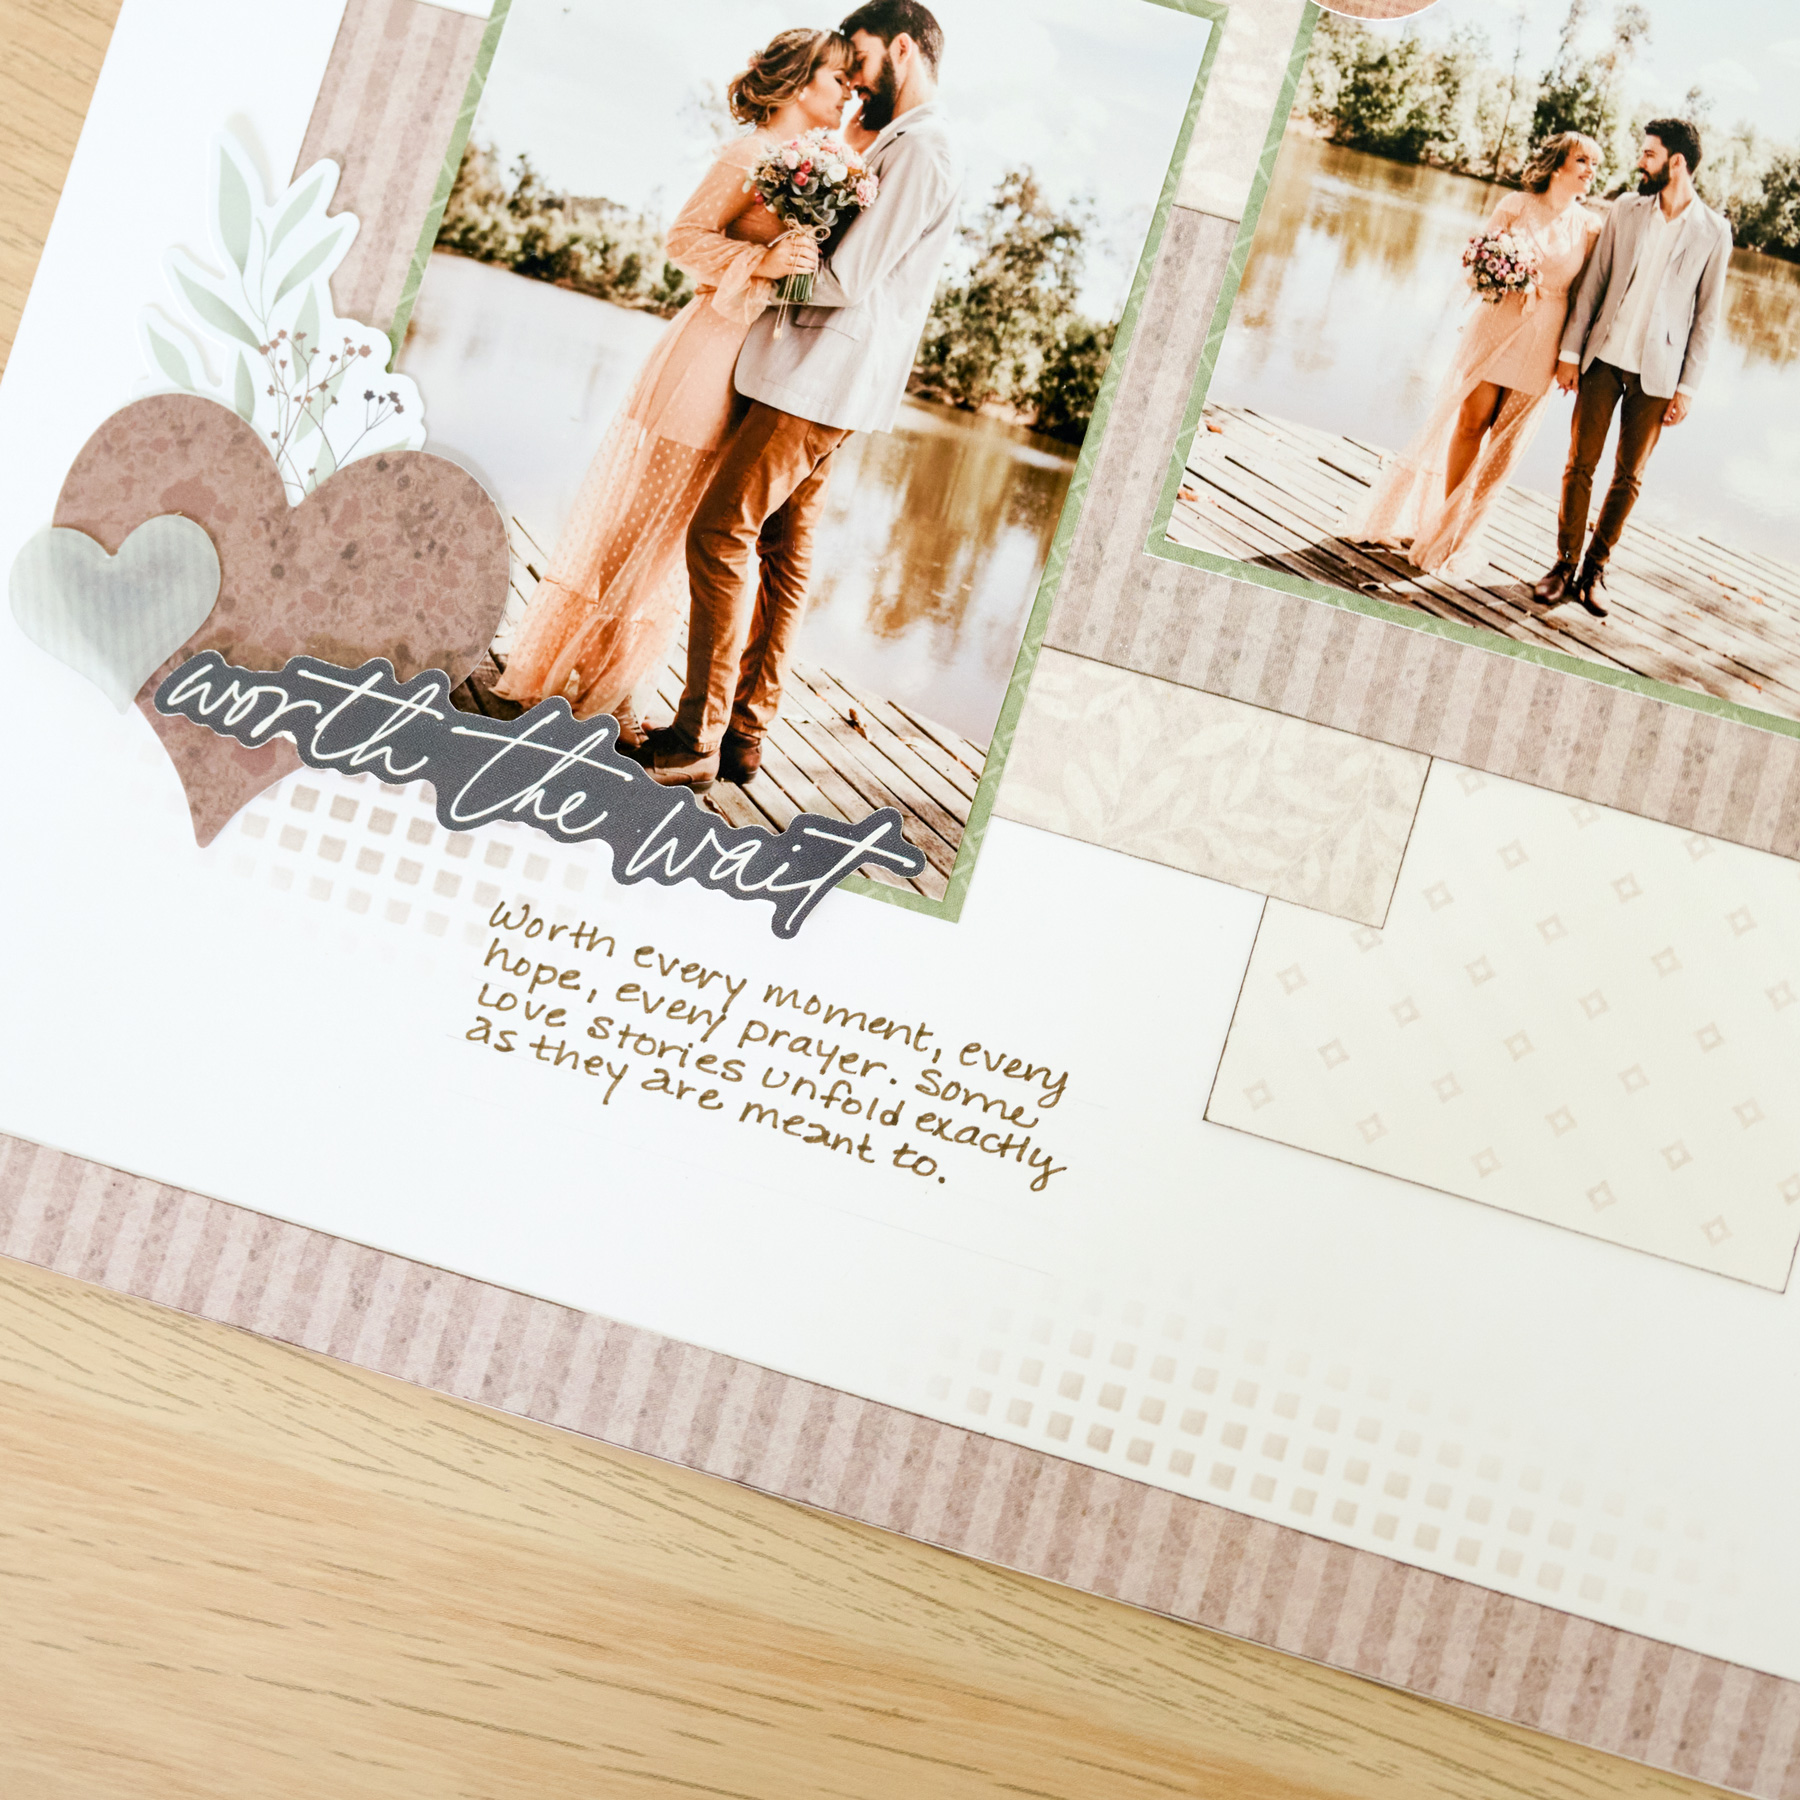
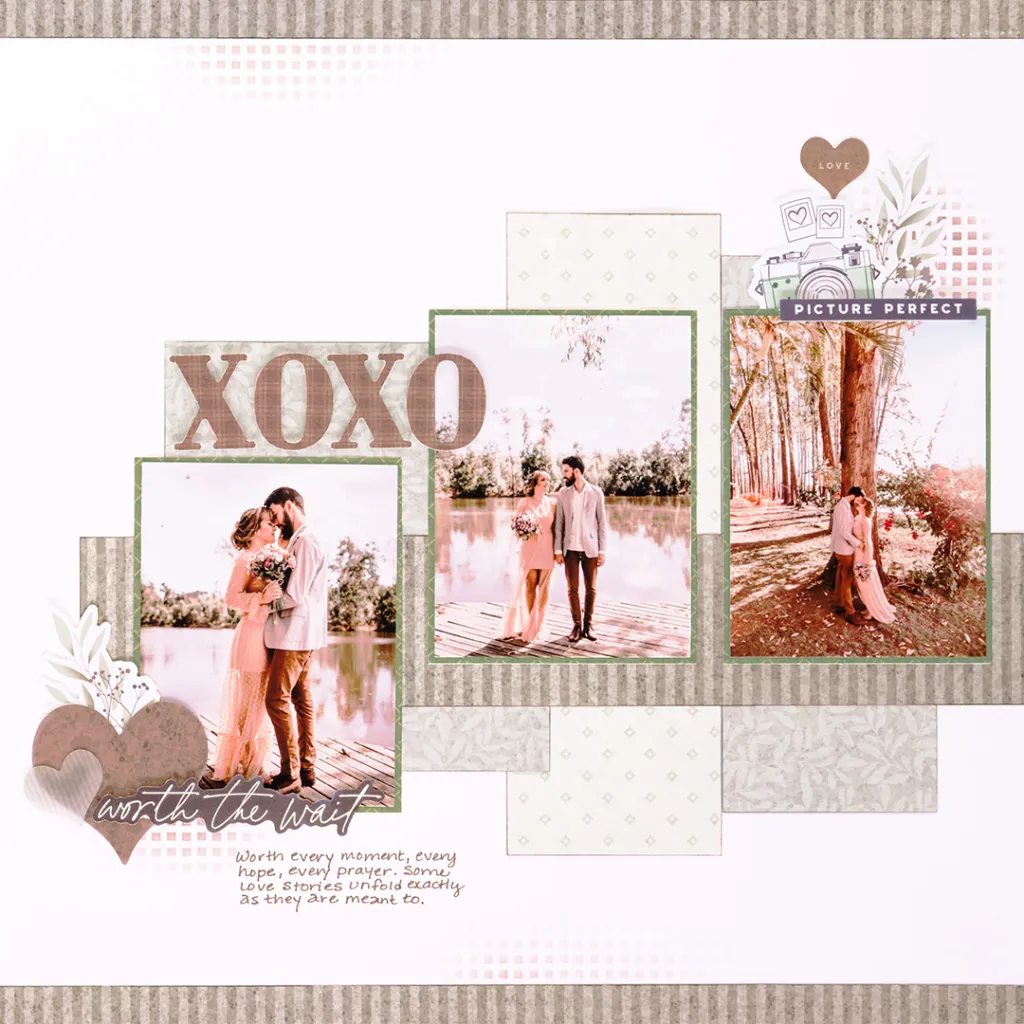
Some memories deserve a layout that’s just as timeless as the moment itself. Featuring the Perfect Match collection, this layout pairs elegant patterns with subtle stenciled details from the 5×5 Grid Stencil to create a page that’s both classic and full of personality. It’s a beautiful way to celebrate weddings, anniversaries and all the moments that bring people together.

Love this layout?

Love this layout?

Step 1: Use Bright White Solid Cardstock as the base for this layout.
Step 2: Add Place & Peel Tape around the outer edges of your 5×5 Stencil. Lightly stencil the grid pattern using Hot Fudge Ink and the coordinating Craft Blending Brush in three places on the base page: 2″ from the left edge at the top, 2-1/2″ from the top and 1/4″ from the right edge and 3-1/4″ from the right edge at the bottom.
Tip: When using a stencil like this, start in the center and apply the ink with a light hand, gradually using less pressure as you work outward. This creates a soft, faded effect. Because Hot Fudge Ink is close in tone to the paper, be sure to use a very light touch.
Step 3: Ink the edges of all the paper pieces using Hot Fudge Ink. Cut a piece of beige leaves designer paper to measure 2-1/2″ x 6-1/2″ and adhere it 2-1/2″ from the bottom and 1″ from the right edge.
Step 4: Cut a piece of diamond designer paper to measure 2-1/2″ x 7-1/2″ and adhere it directly to the left of the first piece, positioning it 2″ from the bottom. Then, cut a piece of beige leaves designer paper to measure 4-1/2″ x 5″ and adhere it 3″ from the bottom and 2″ from the left edge, overlapping the previous piece.
Step 5: Cut two strips from the brown striped designer paper to measure 12″ x 1/2″ and one piece to measure 10-1/2″ x 2″. Adhere the thin strips along the top and bottom edges of the layout. Then, adhere the larger strip 3-3/4″ from the bottom and along the right edge.
Step 6: Cut three pieces of green designer paper to measure 3-1/8″ × 4-1/8″. Crop three photos to measure 2-7/8″ × 3-7/8″ and adhere them to the mats.
Step 7: Adhere the far-right matted photo 3/8″ from the right edge and 4-1/4″ from the bottom. Adhere the middle matted photo to the left, leaving 3/8″ between the two. Finally, adhere the last matted photo 2-1/2″ from the bottom and 3/8″ from the center mat.
Step 8: Finish the layout by adding journaling, final ink touches, stickers and embellishments, using Foam Squares on some for added dimension.
Want to recreate this layout?
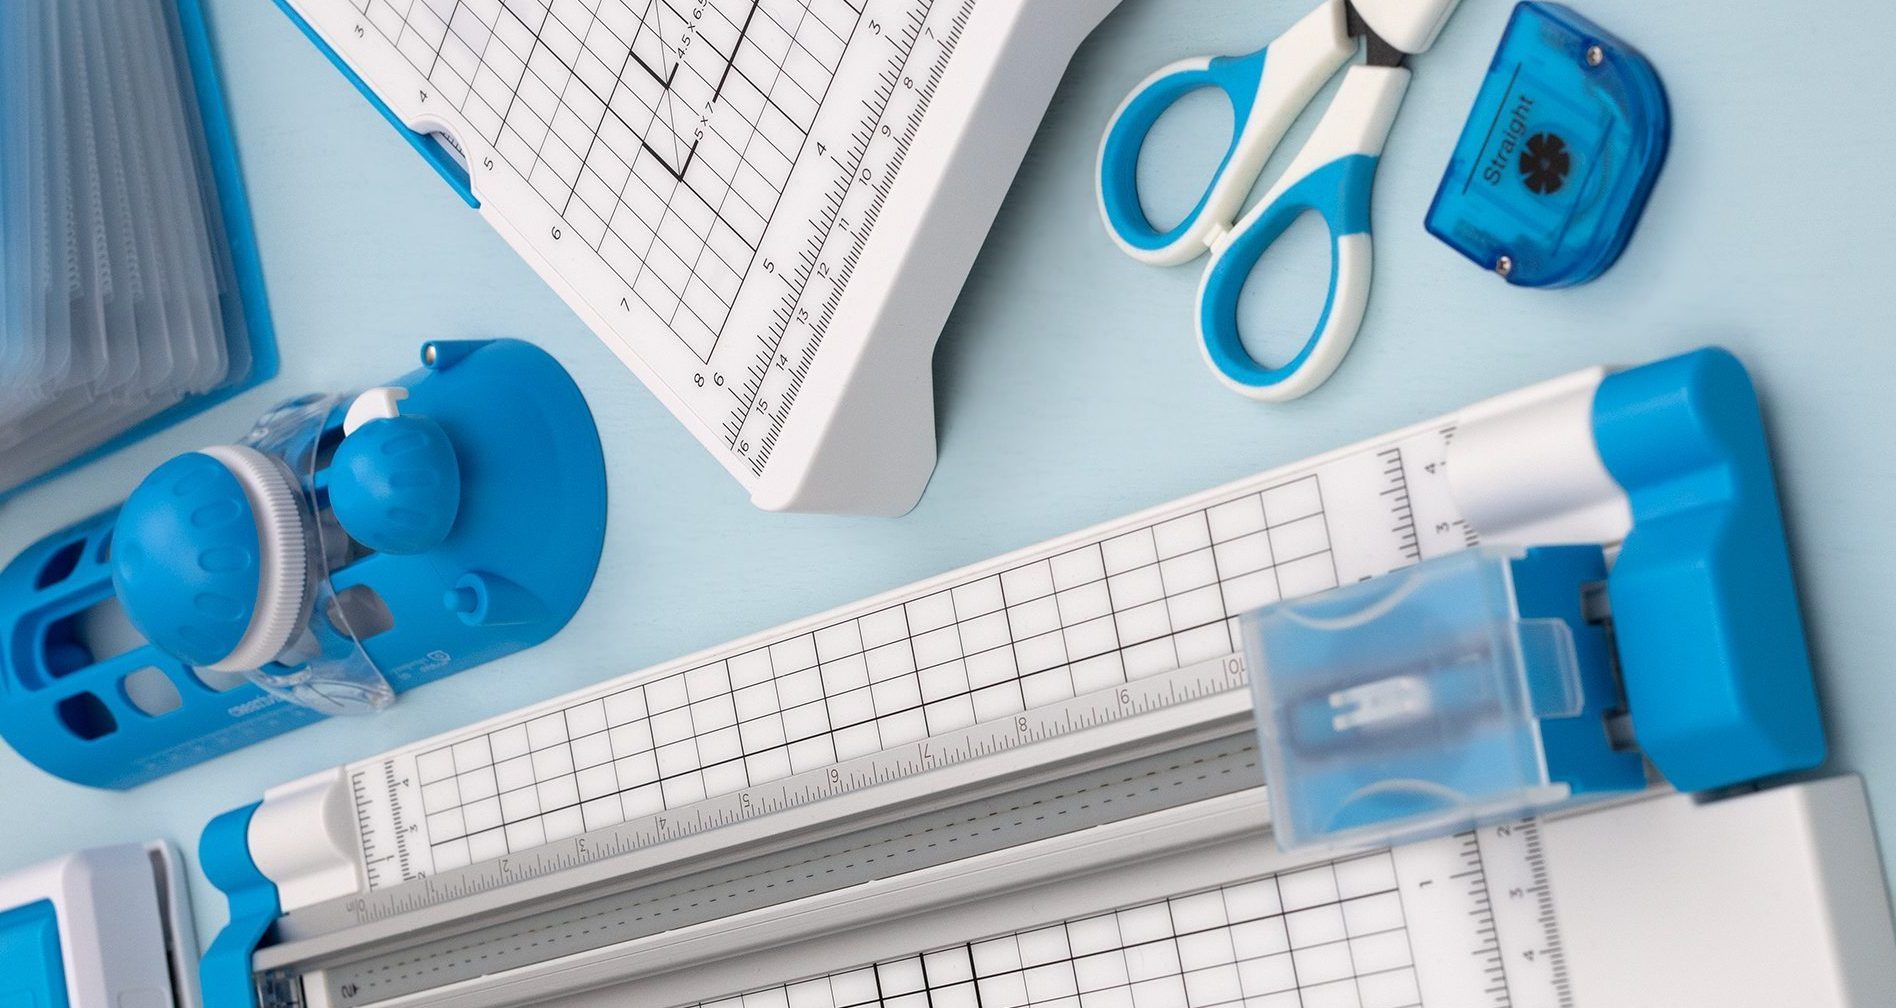
We’ve gathered all the products featured in this project in one place, making it easy to find the papers, embellishments, tools and more.
P.S. Are YOU a member of the Virtual Crop Group? It’s your go-to place for MONTHLY Virtual Crops, MONTHLY Completed Album Challenges, QUARTERLY Secret Box Openings with project tutorials and so much more! We hope you’ll join our community of more than 53,000 fellow memory-keeping enthusiasts — you’ll feel right at home!