July 29, 2026
A Pocket Full of Memories with Weathered Indigo
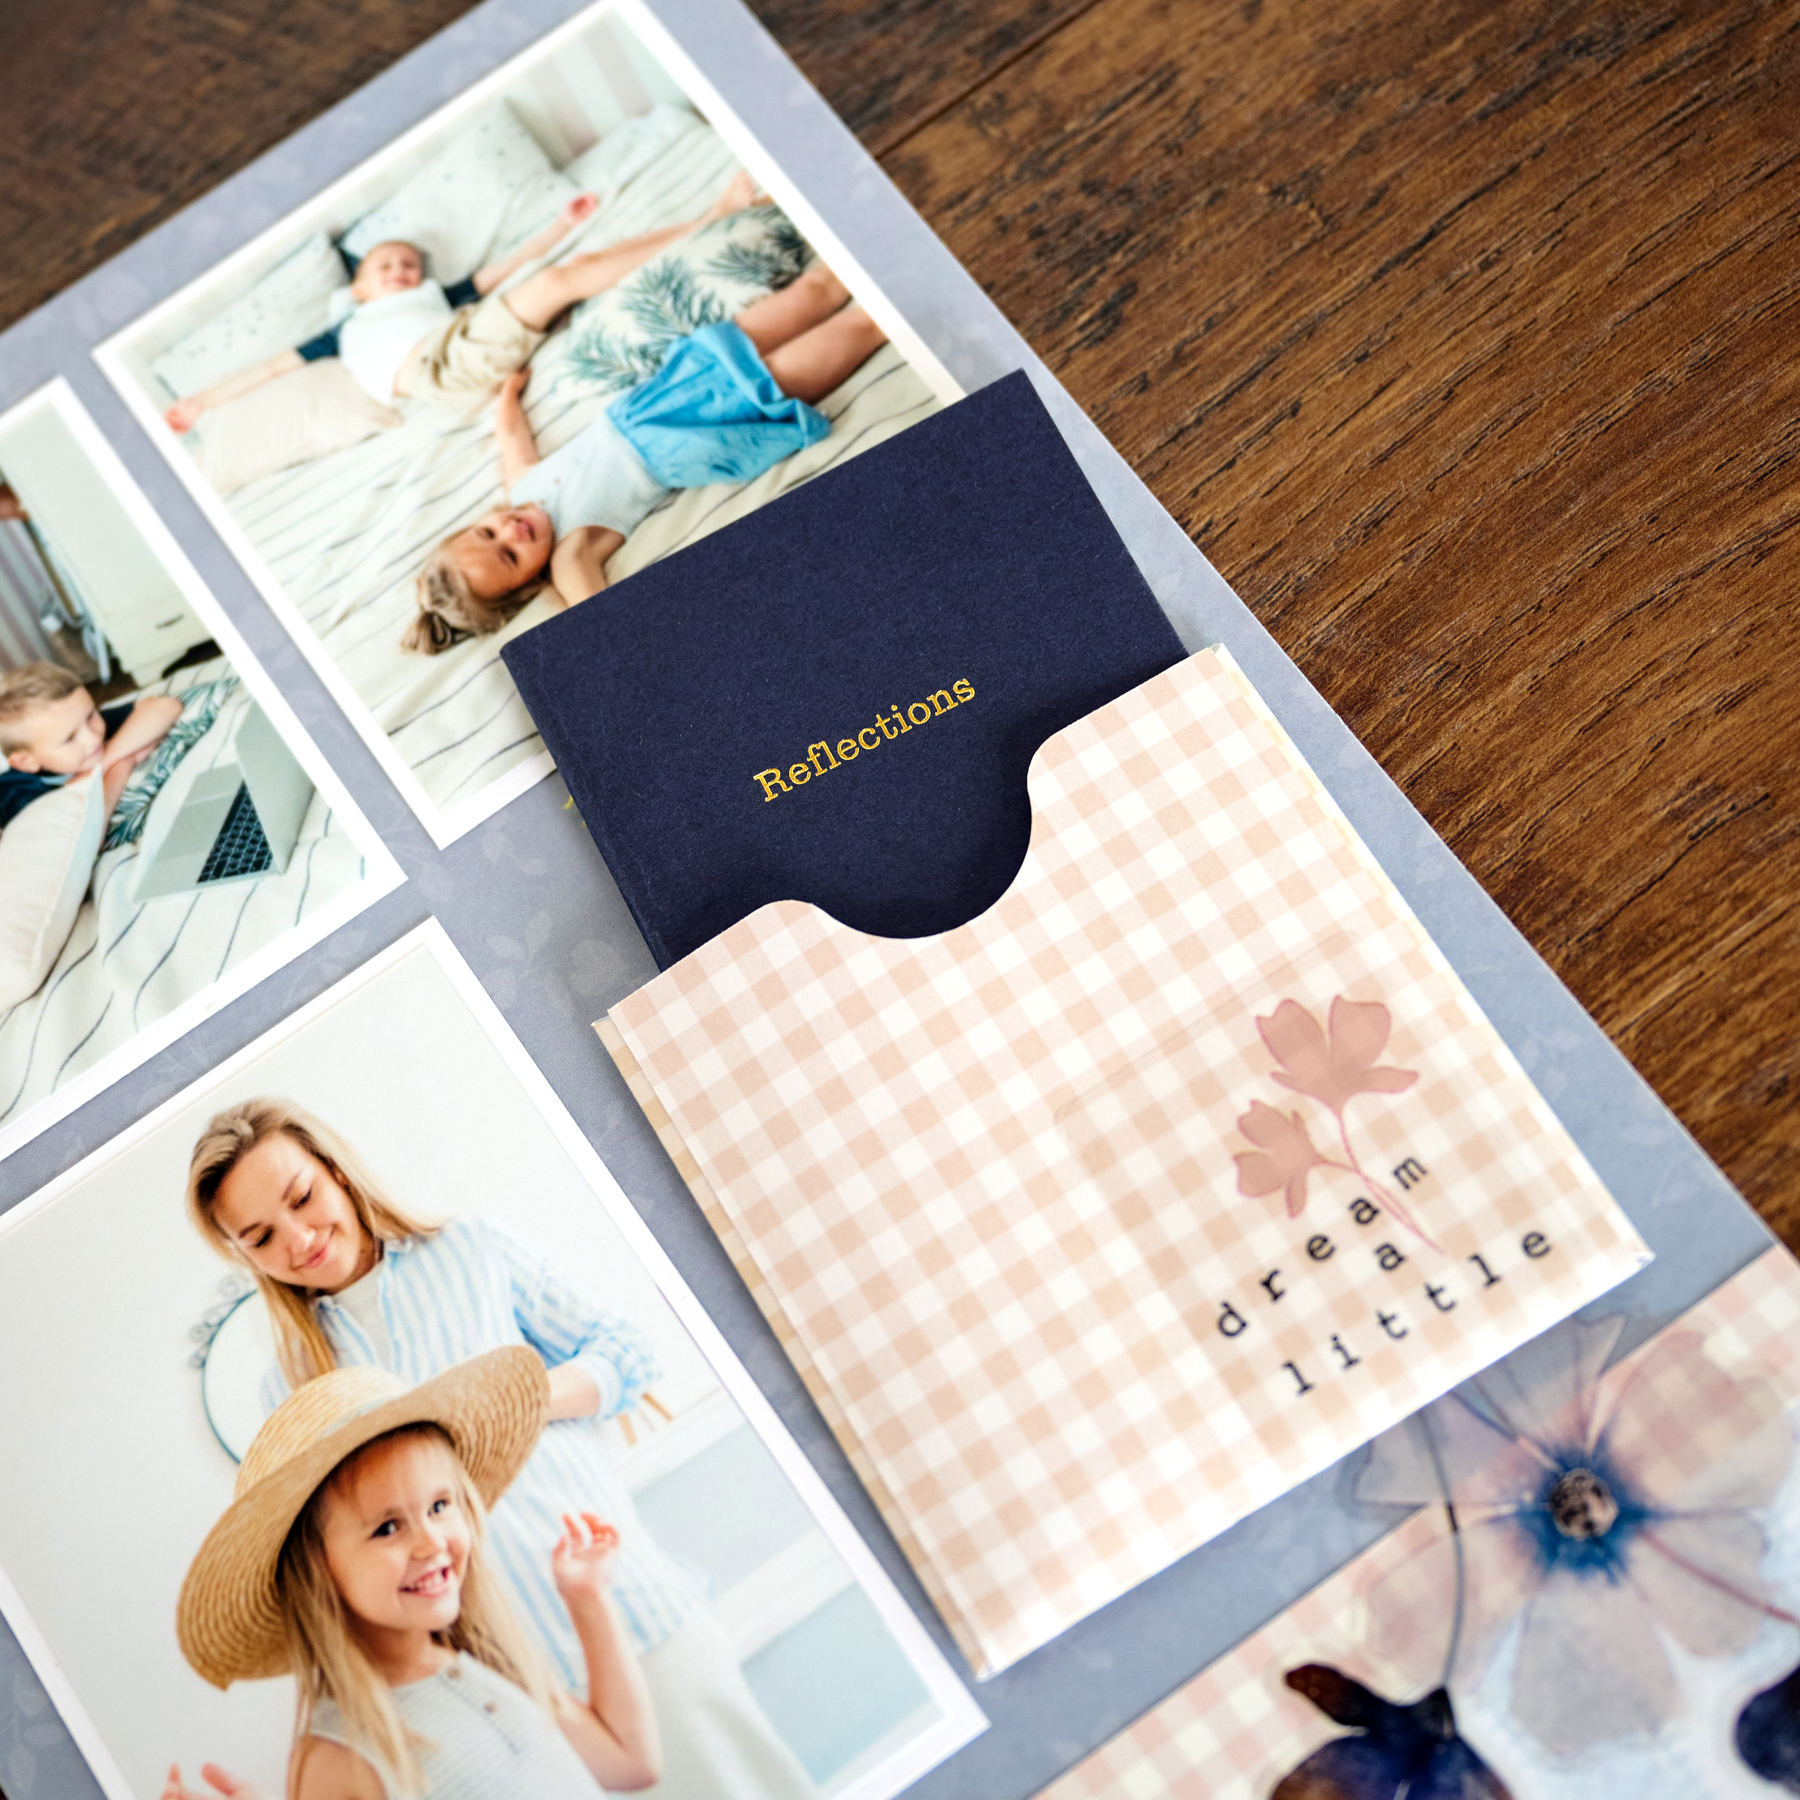
Sometimes it’s the little details that tell the biggest stories. This two-page Scrap Journal layout, created with the Weathered Indigo Scrap Journal collection, features layered papers and pockets that give you even more room to preserve the memories behind your photos. Tuck in journaling, keepsakes, extra snapshots or little notes to create a layout that’s just as fun to explore as it is to make.

Love this layout?

Love this layout?

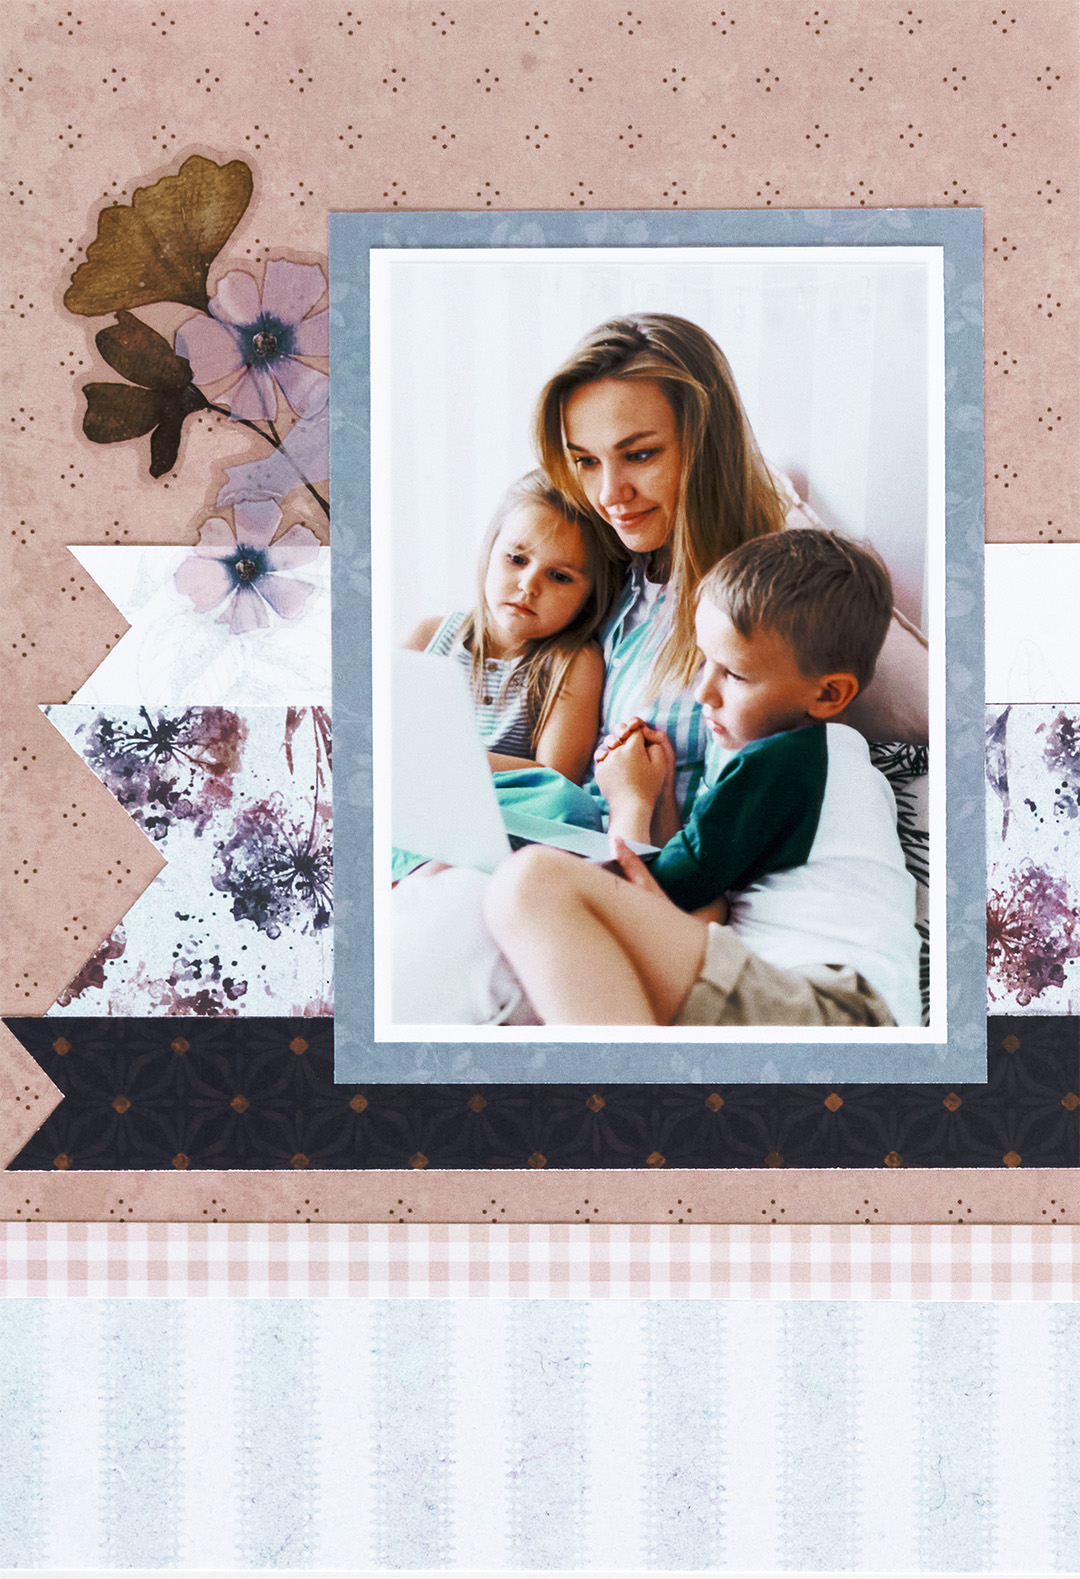
Step 1: Cut two sheets of Bright White Solid Cardstock to measure 6-3/4″ x 10″ to create the bases for this two-page layout.
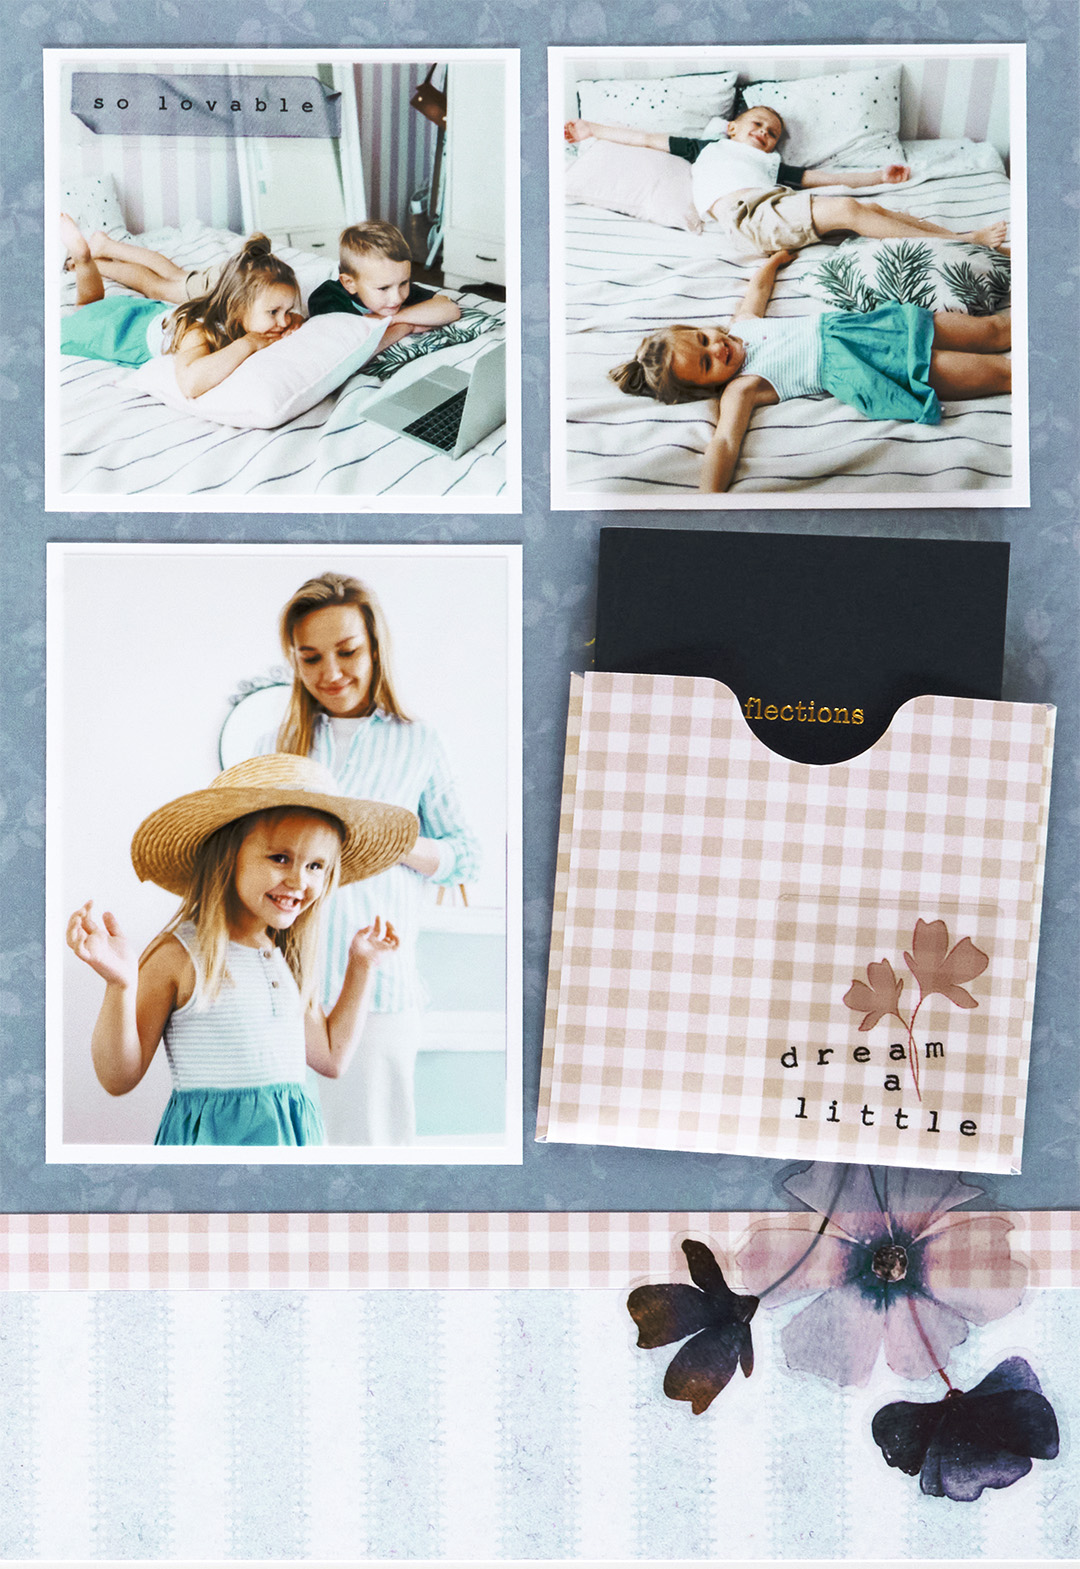
Step 2: Cut a sheet of dainty dots designer paper to measure 6-3/4″ x 8″ and adhere it to the top left of the left base page. Cut a sheet of leaves designer paper to measure 6-3/4″ x 8″ and adhere it to the top right of the right base page.
Step 3: Cut two strips from the deco stripe designer paper to measure 6-3/4″ x 2″ and adhere them along the bottom edges of both pages. Then, cut two strips from the gingham designer paper to measure 6-3/4″ x 1/2″ and adhere them over the seams.
Step 4: Cut a 6-1/4″ x 1″ strip from the vintage floral designer paper, a 6-3/4″ x 1″ strip from the navy geo tile designer paper and a 6-1/2″ x 2″ strip from the watercolor floral designer paper. Using Micro-Tip Scissors, cut a V-notch in one end of each strip, then adhere them to the left page as shown.
Step 5: Cut a photo mat from the leaves designer paper to measure 4″ x 5-1/2″ and a Bright White Solid Cardstock mat to measure 3-1/2″ x 5″. Crop a photo to 3-1/4″ x 4-3/4″, then layer and adhere everything to the left page.
Step 6: Cut two Bright White Solid Cardstock photo mats to measure 3″ x 3″ and one to measure 3″ x 4″. Crop two photos to 2-3/4″ x 2-3/4″ and one photo to 2-3/4″ x 3-3/4″, then mount them onto the mats. Adhere the matted photos to the right page. Adhere a 3″ x 3″ gingham pocket as shown and insert the “Reflections” Mini Notebook inside.
Step 7: Adhere clear stickers as desired.
Fill the pockets, tuck in a few memories and make this layout your own. Sometimes the smallest details become the most meaningful ones. Happy scrapping!
Want to recreate this layout?
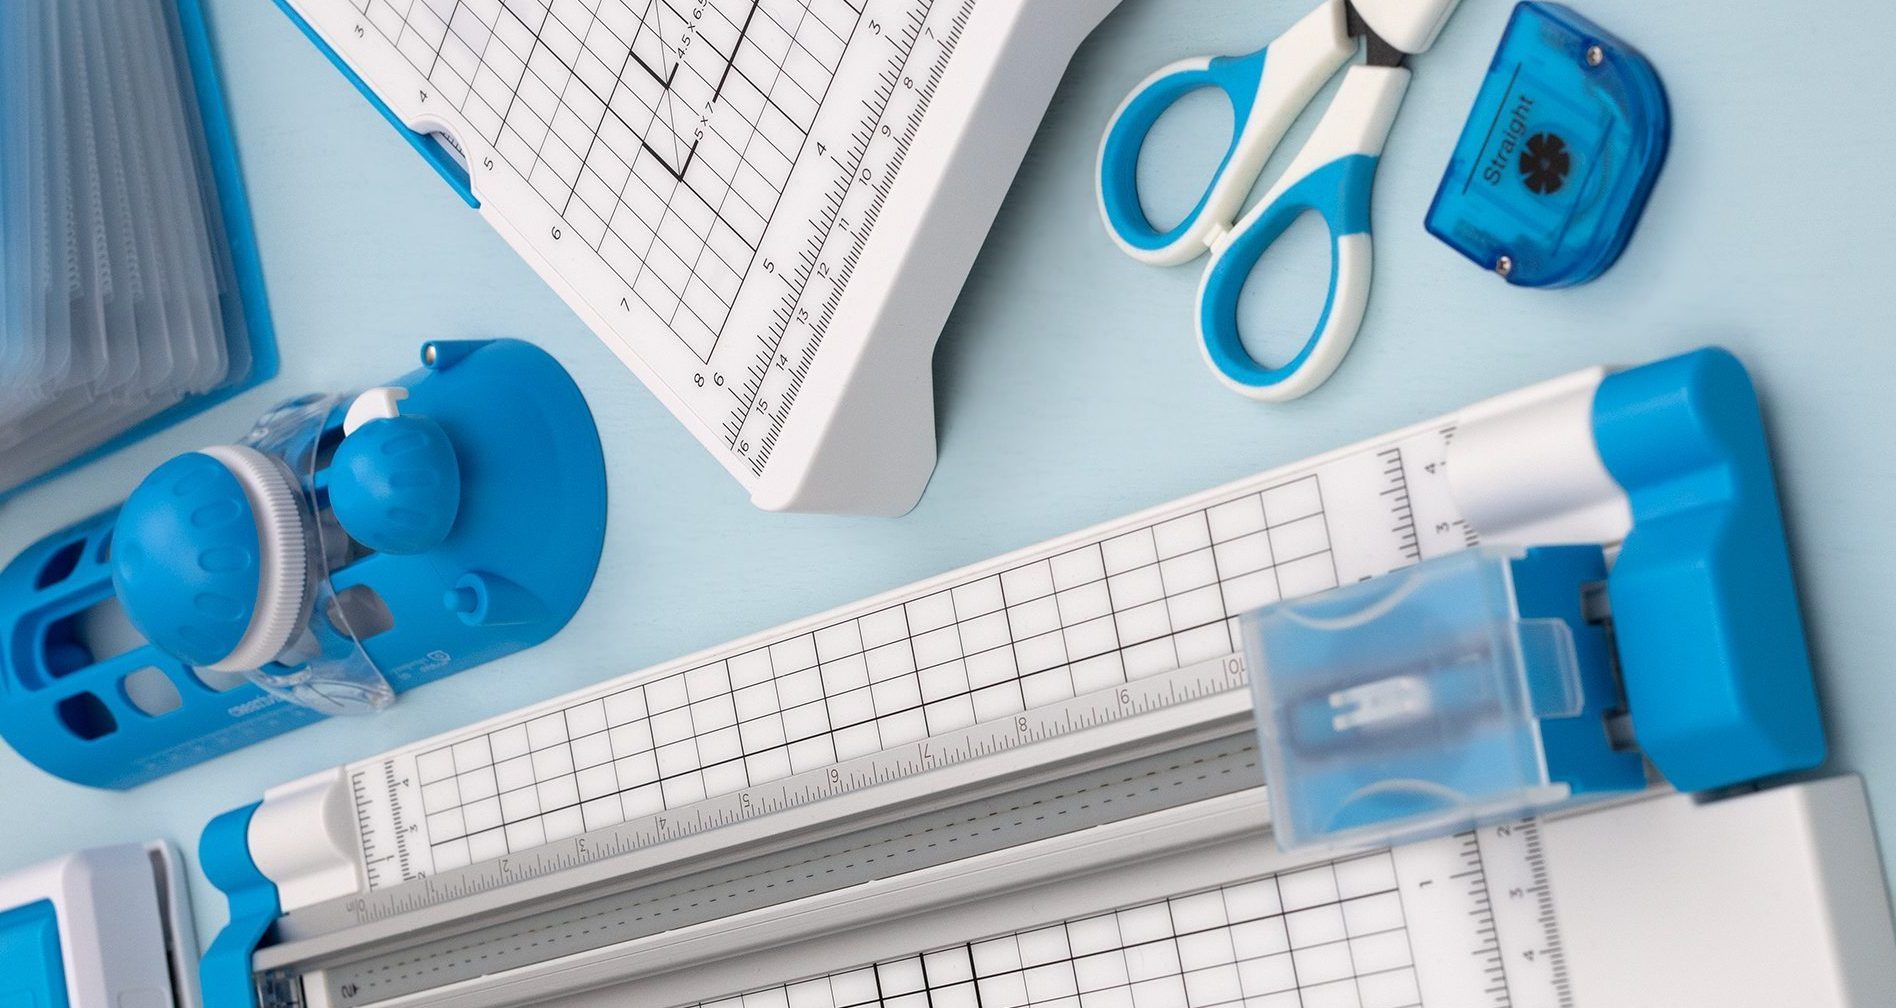
We’ve gathered all the products featured in this project in one place, making it easy to find the papers, embellishments, tools and more.
P.S. Are YOU a member of the Virtual Crop Group? It’s your go-to place for MONTHLY Virtual Crops, MONTHLY Completed Album Challenges, QUARTERLY Secret Box Openings with project tutorials and so much more! We hope you’ll join our community of more than 50,000 fellow memory-keeping enthusiasts — you’ll feel right at home!


I assume you stick the pocket on the page protector. The instructions don’t mention that.
Hi Jane! In this layout, the pocket is adhered directly to the page. That’s the method used in the instructions and helps keep everything securely in place. If you’d rather have easier access to the notebook, you can absolutely place the pocket on top of the page protector instead. There’s no wrong choice — it’s all about what works best for you and your scrapbook style!