July 6, 2026
DIY Paper Vase Wrap with the Hydrangea Haven Collection
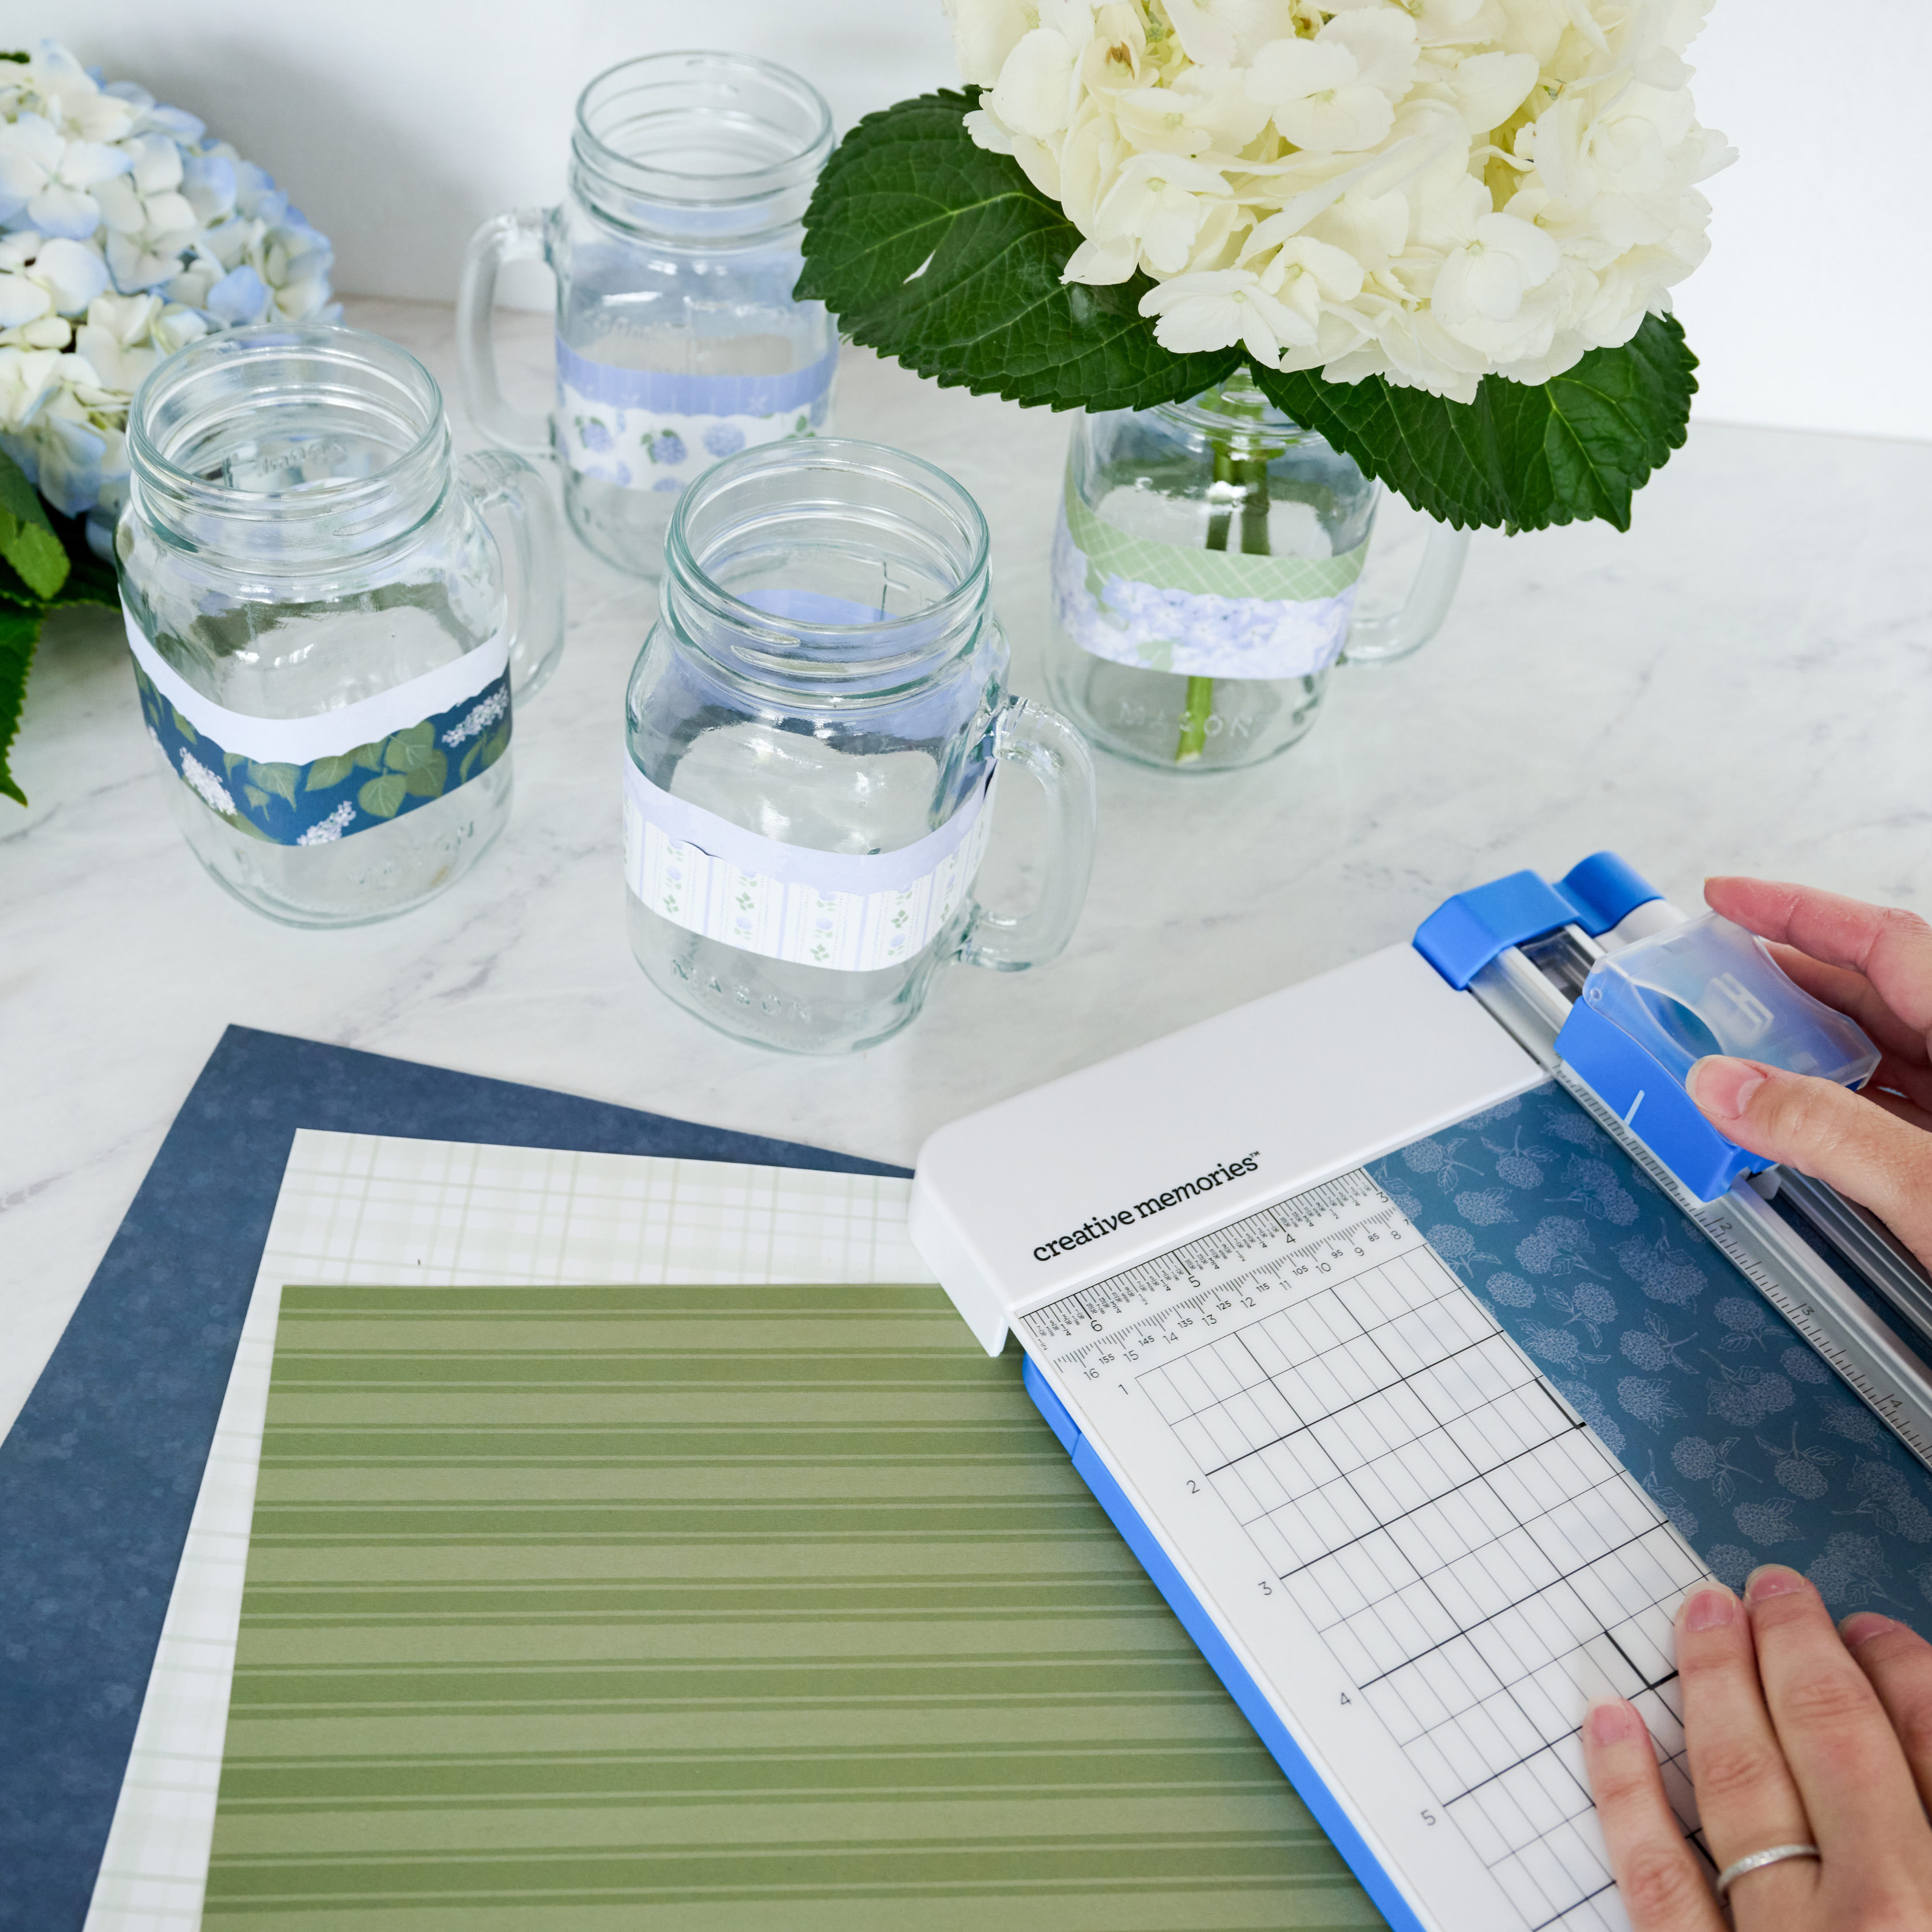
Fresh flowers have a way of brightening any room, and with the soft florals and classic patterns in the Hydrangea Haven collection, your vase can be just as beautiful as the blooms inside it. This quick DIY paper vase wrap is also a great way to use leftover paper scraps, transforming even the simplest mason jar into a charming display piece in just a few minutes.
Whether you’re decorating your home, creating a thoughtful handmade gift or adding a special touch to your next gathering, this easy project is a fun way to stretch your supplies while showcasing your favorite designer papers.

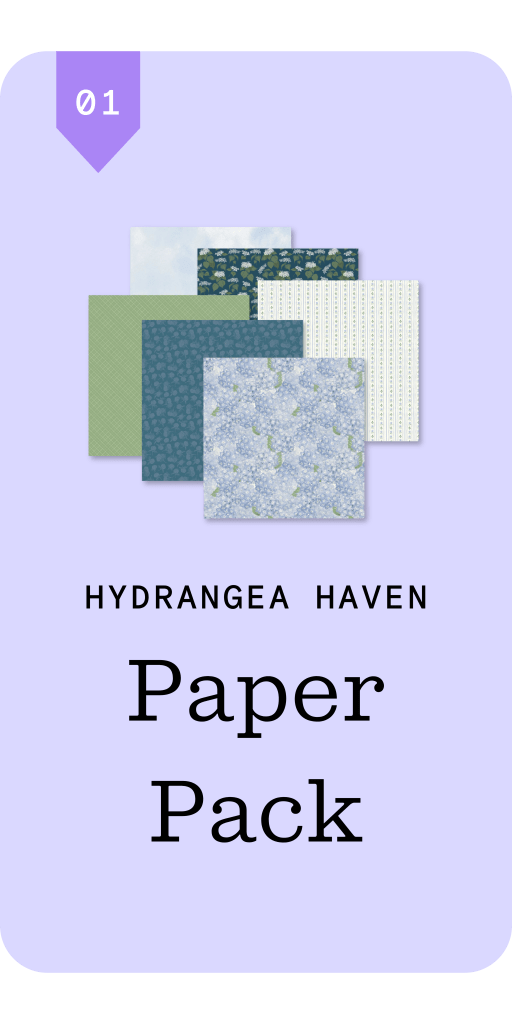
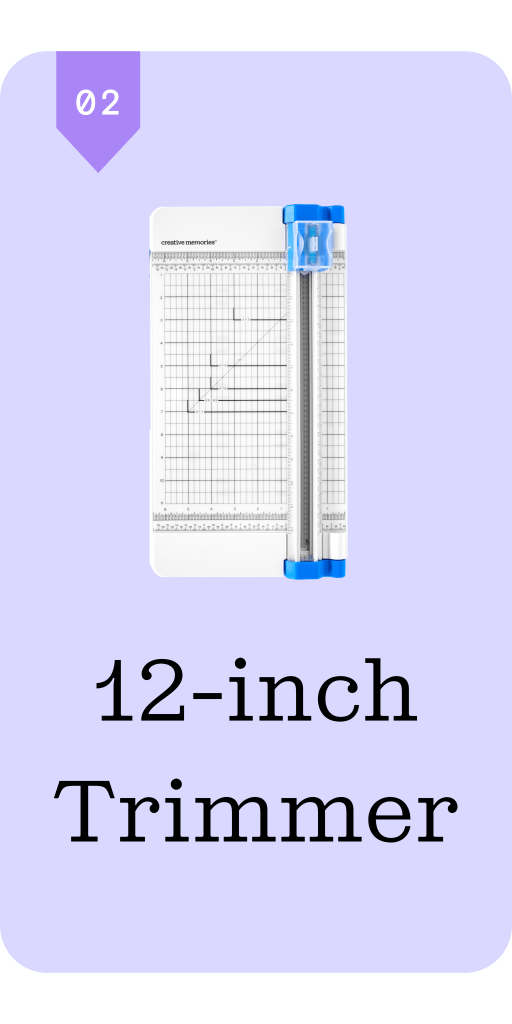
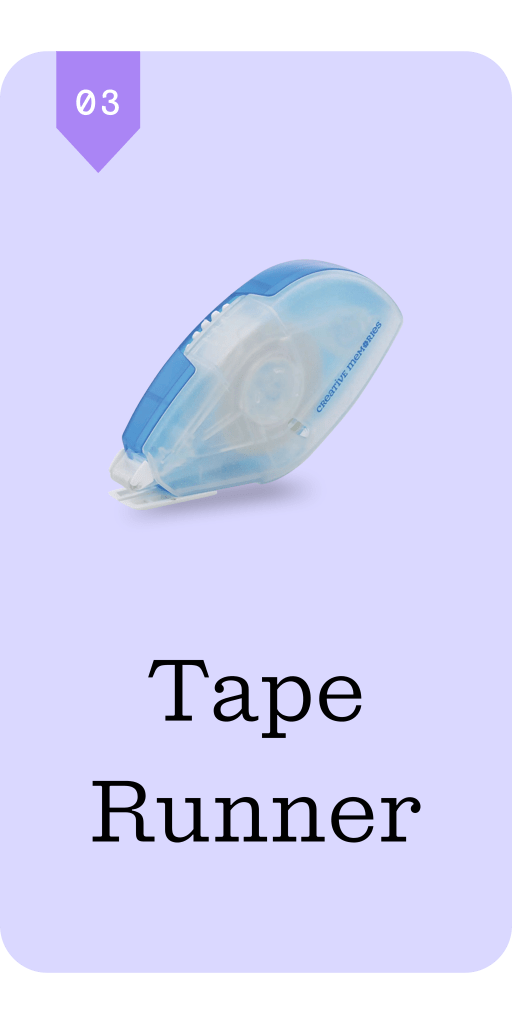
EXTRA INGREDIENT: DECORATIVE VASE OR 16 OZ. MASON JAR
Watch: Follow along for a quick tutorial on these paper vase wraps!

For this project, a standard 16 oz. mason jar is used. If you’re using a different jar or vase, simply adjust the measurements to fit your base and create your desired look.
Step 1: Trim a strip of designer paper to 12″ x 2″ using your favorite pattern from the Hydrangea Haven collection.
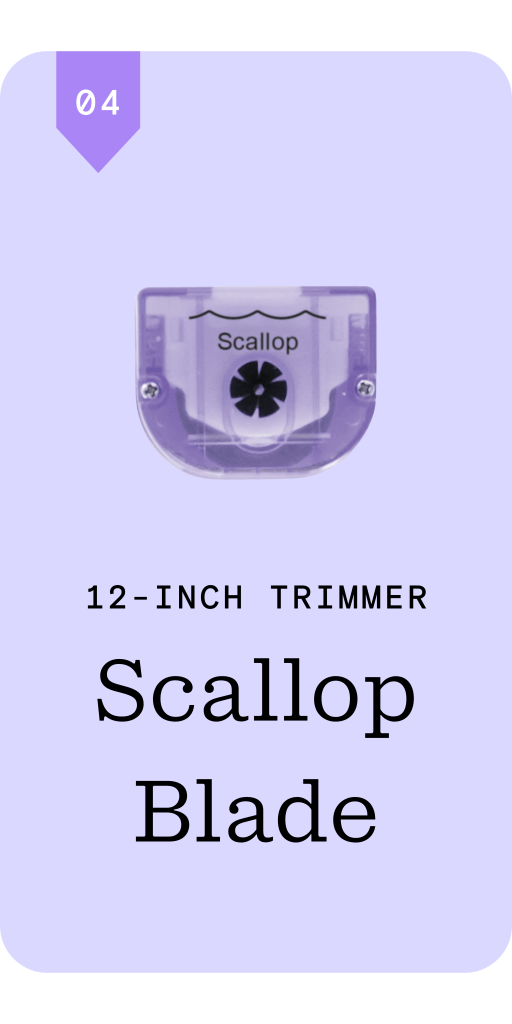
Step 2: Replace the Straight Blade in your 12-inch Trimmer with the Scallop Blade, or another decorative blade of your choice. Using a coordinating pattern, trim a strip that measures 12″ x 1/2″.
Step 3: Use your Tape Runner to adhere the 12″ x 1/2″ decorative strip along the top edge of the 12″ x 2″ paper strip
Step 4: Wrap the finished paper band around your jar or vase and secure the ends together with adhesive.
While this simple wrap is a great place to start, don’t be afraid to make it your own! Experiment with different border blades, layer multiple patterns or add embellishments for even more dimension and personality. It’s the perfect opportunity to put your border-making skills to the test in a whole new way.
P.S. Are YOU a member of the Virtual Crop Group? It’s your go-to place for MONTHLY Virtual Crops, MONTHLY Completed Album Challenges, QUARTERLY Secret Box Openings with project tutorials and so much more! We hope you’ll join our community of more than 52,000 fellow memory-keeping enthusiasts — you’ll feel right at home!